

-
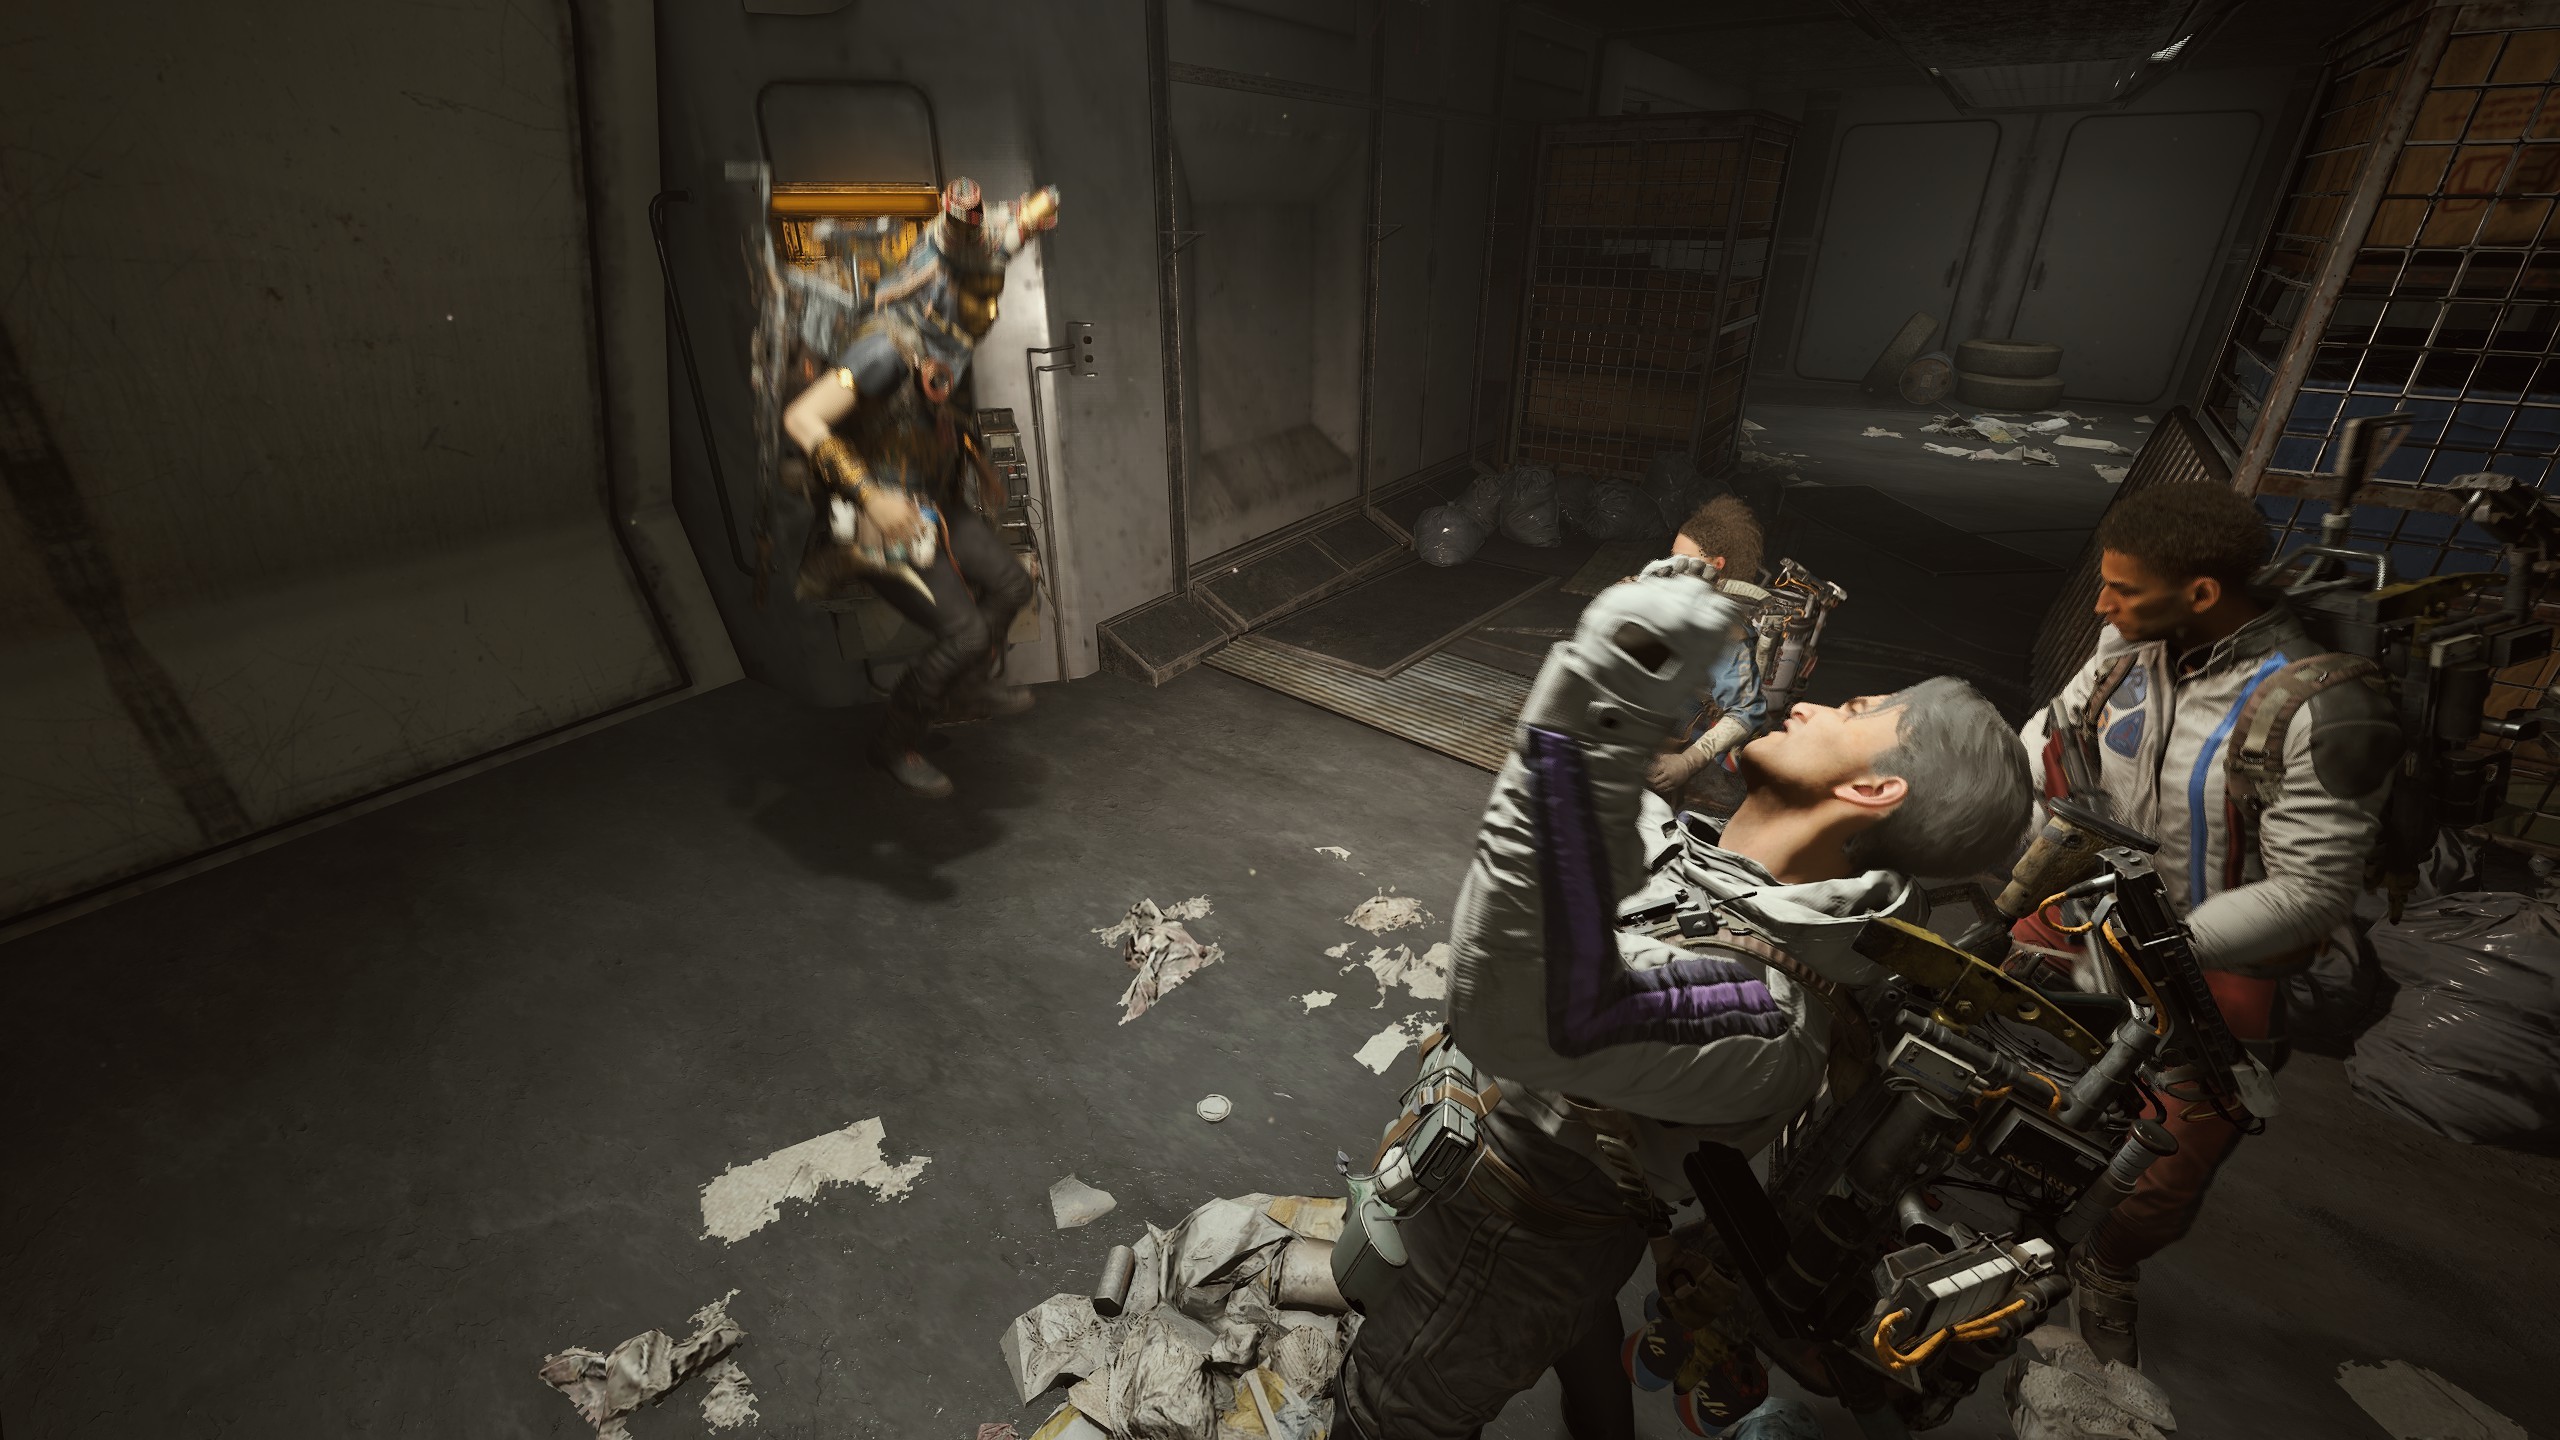
Why the Supply Beacon is Your Most Important Tactical Asset During Extended Engagements
In the doctrine of resource management, the **Supply Beacon** is often incorrectly viewed as merely a…
-
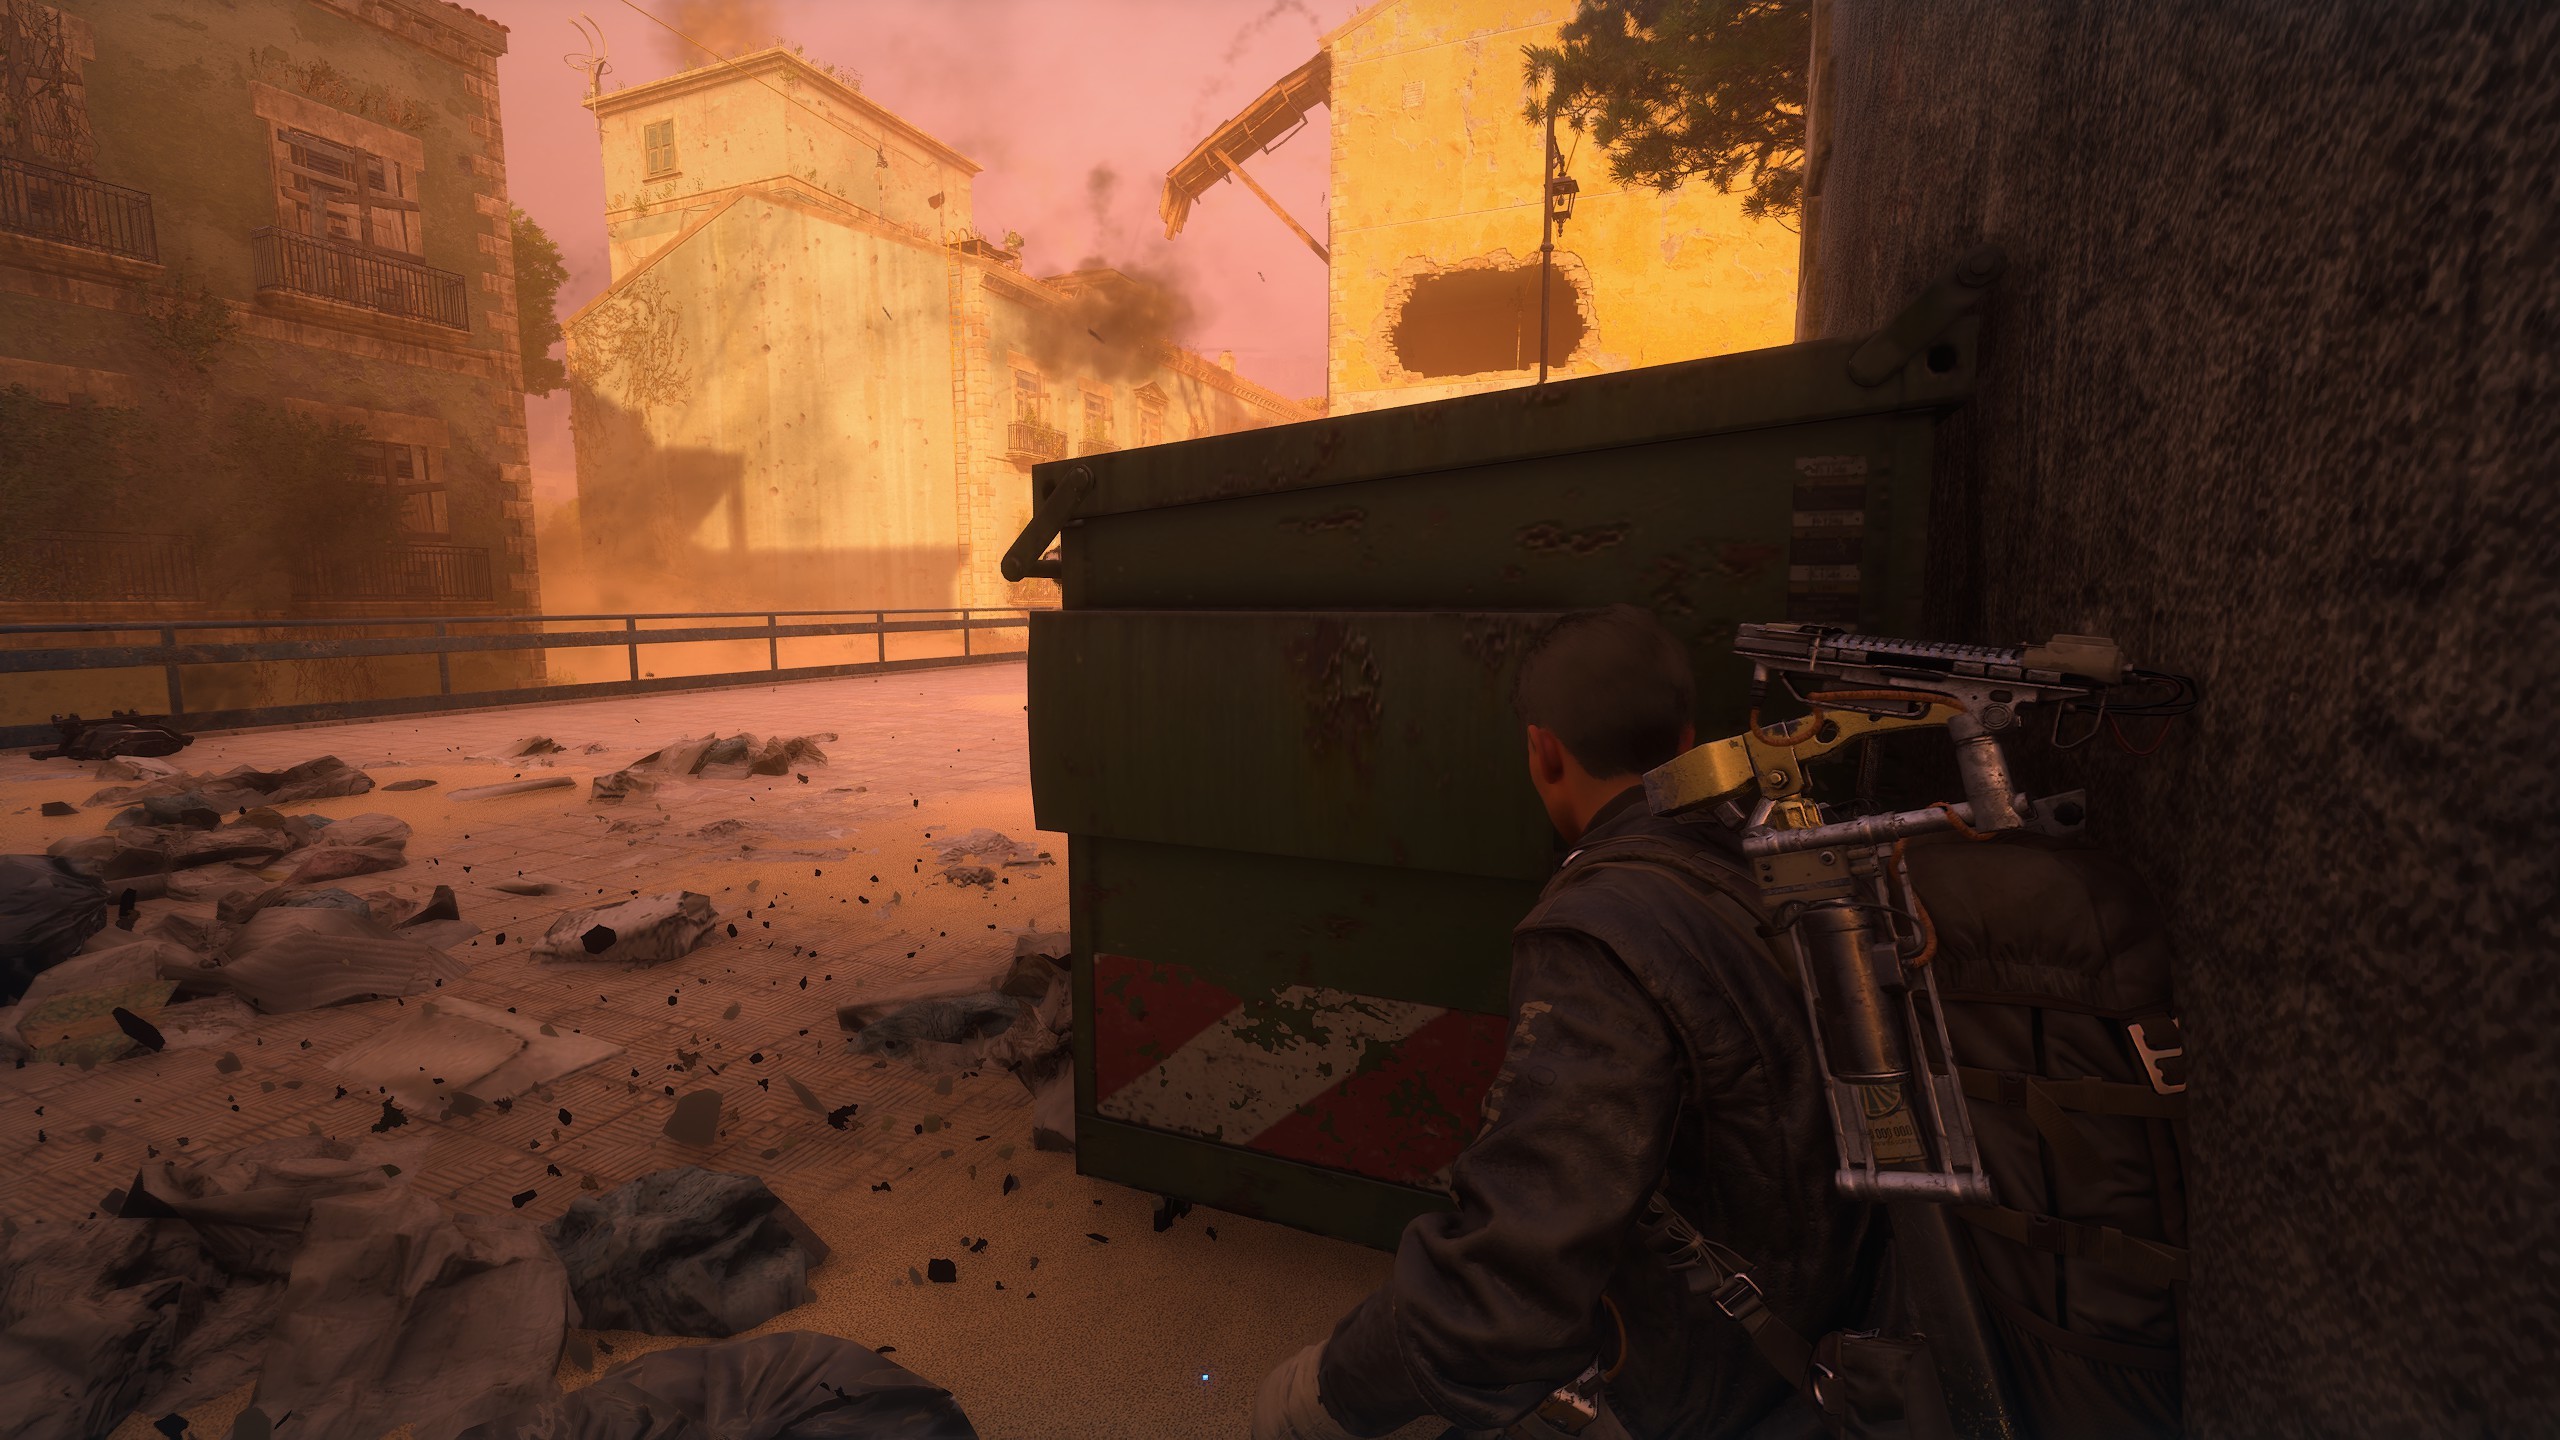
The Economic Underpinnings of the Resistance: How a Barter-Based Society Functions Under Duress
While the war against ARC is fought with bullets and explosives, the Resistance itself is fueled…
-
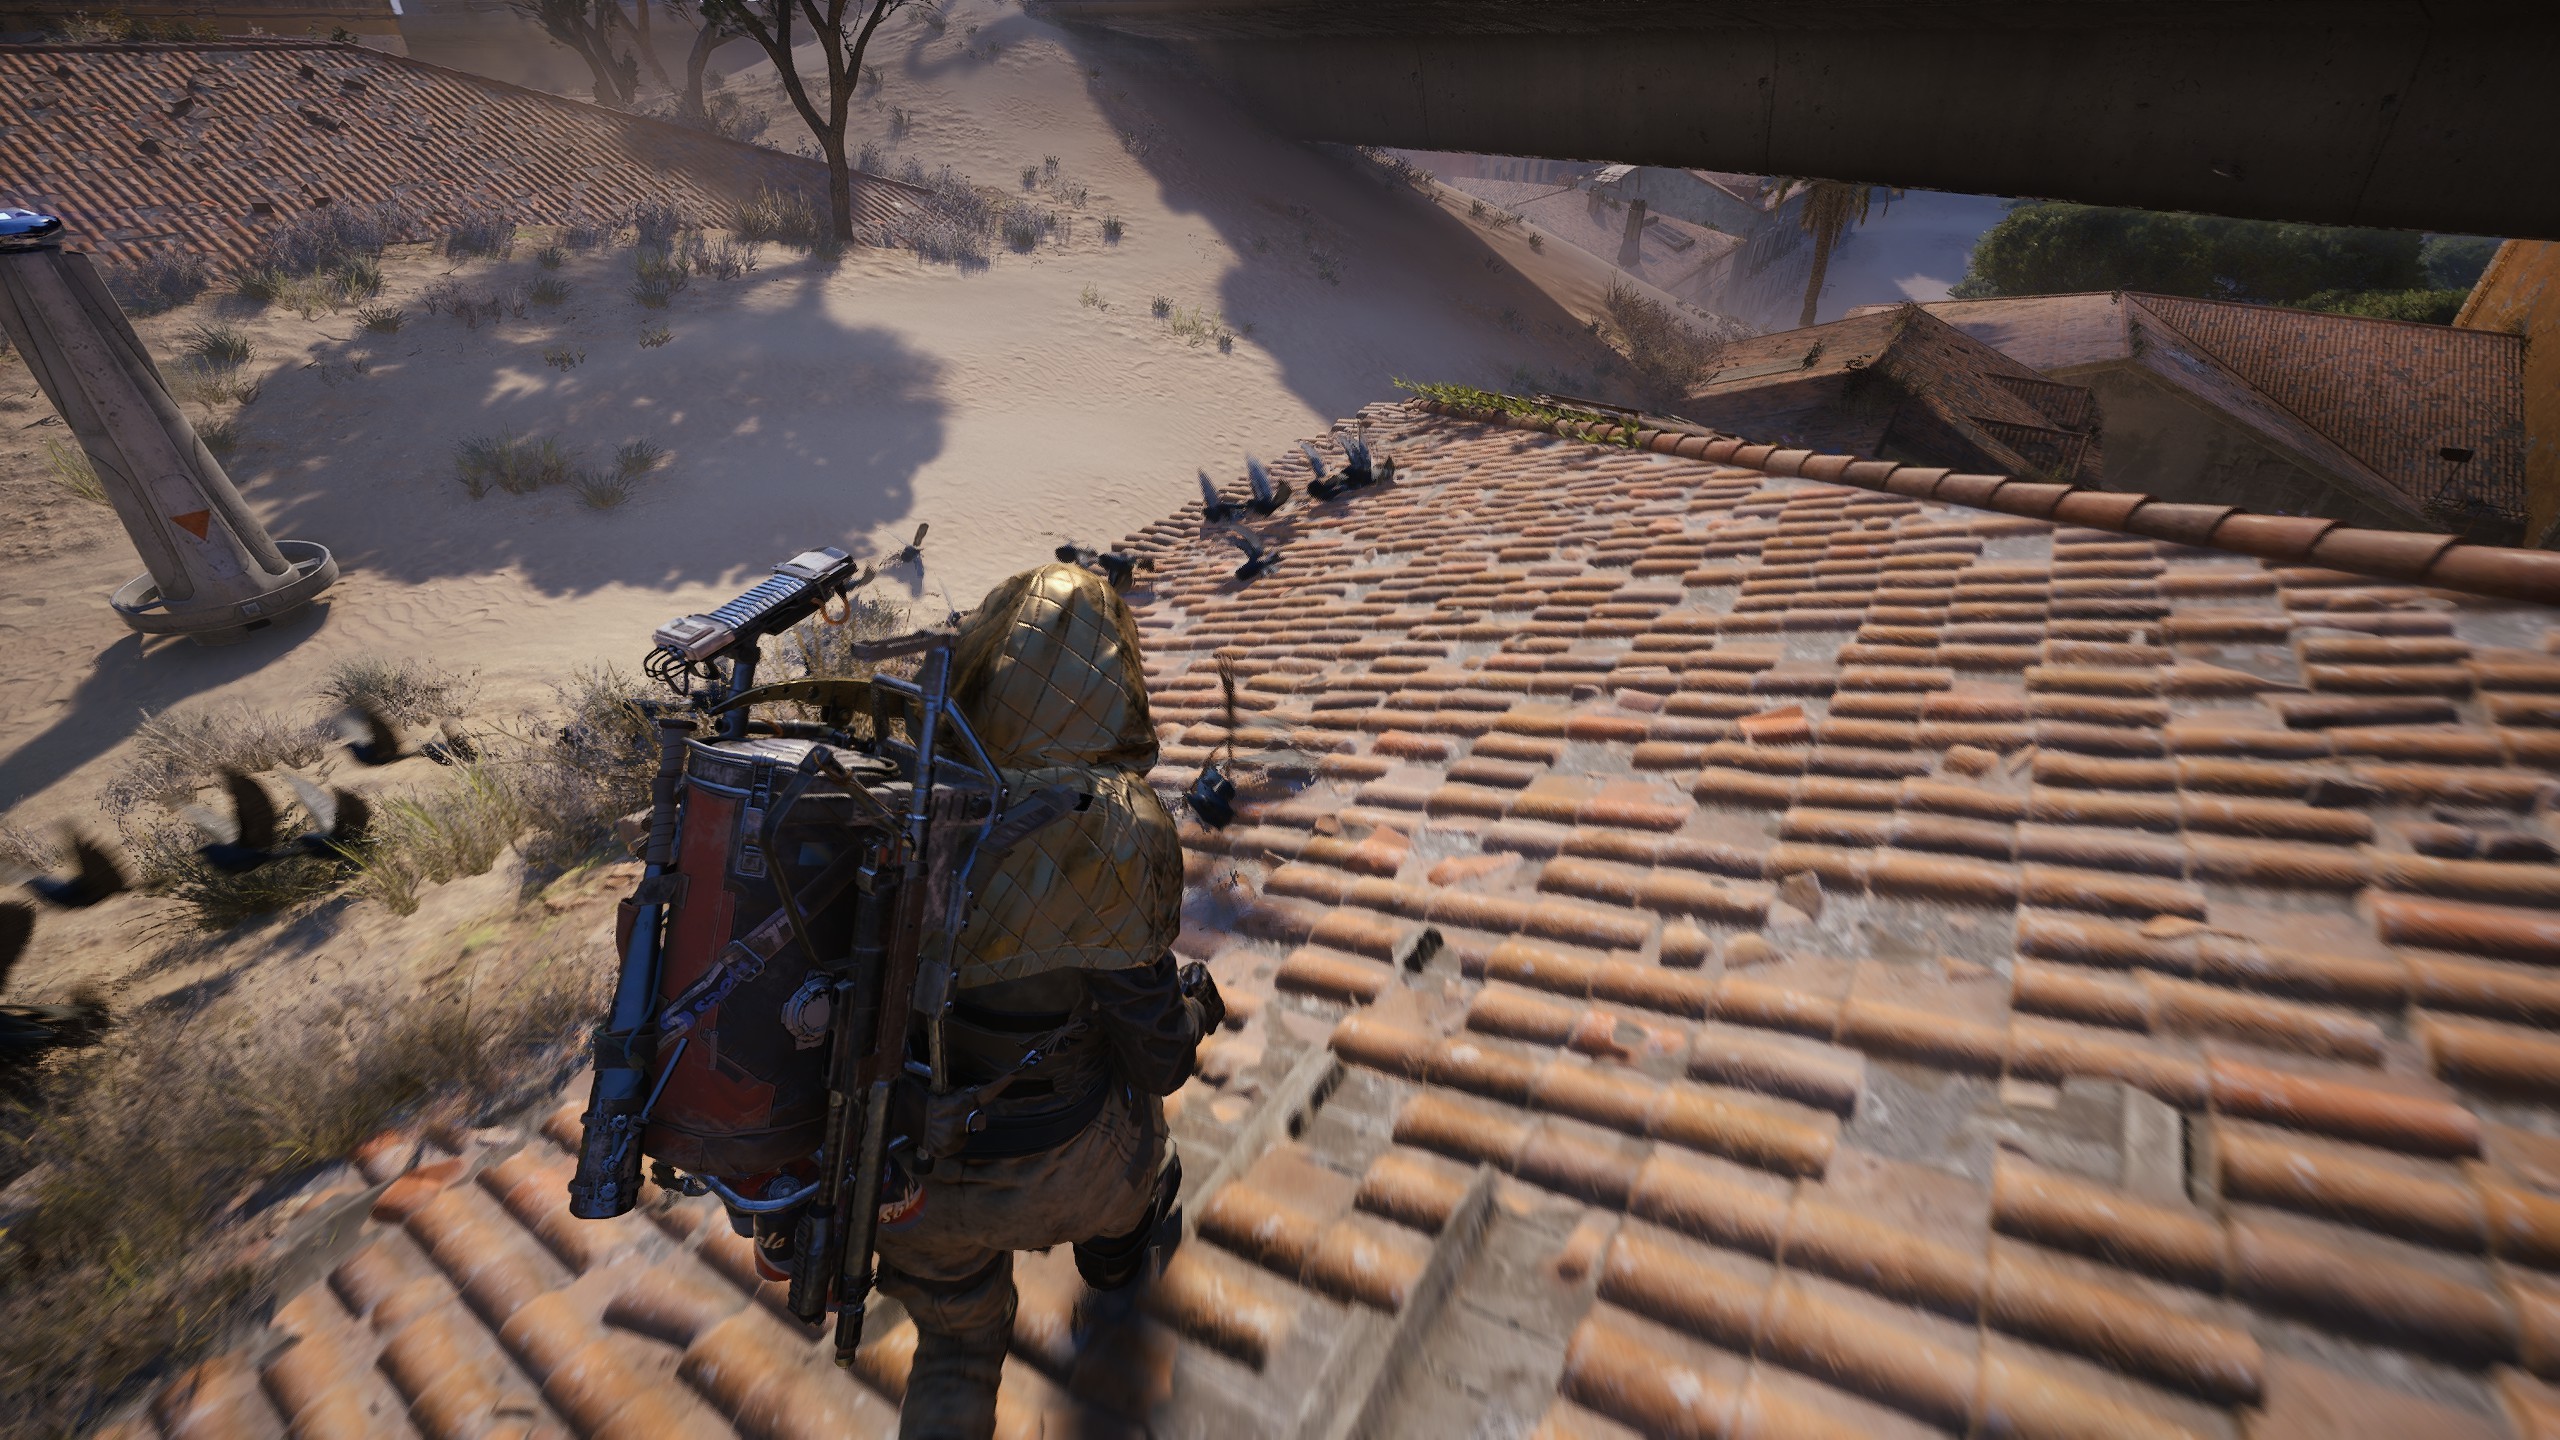
Every Second Counts: A Study in Optimizing Extraction Zone Defense Against Converging ARC Waves
The final 90 seconds of an operation—the extraction sequence—are statistically the most lethal period of any…
-

The Underrated Utility of the Shield Wall: Creating Mobile Cover in the Heat of a Firefight
In the Raider arsenal, gadgets that produce explosive, immediate results often receive the most attention. The…
-
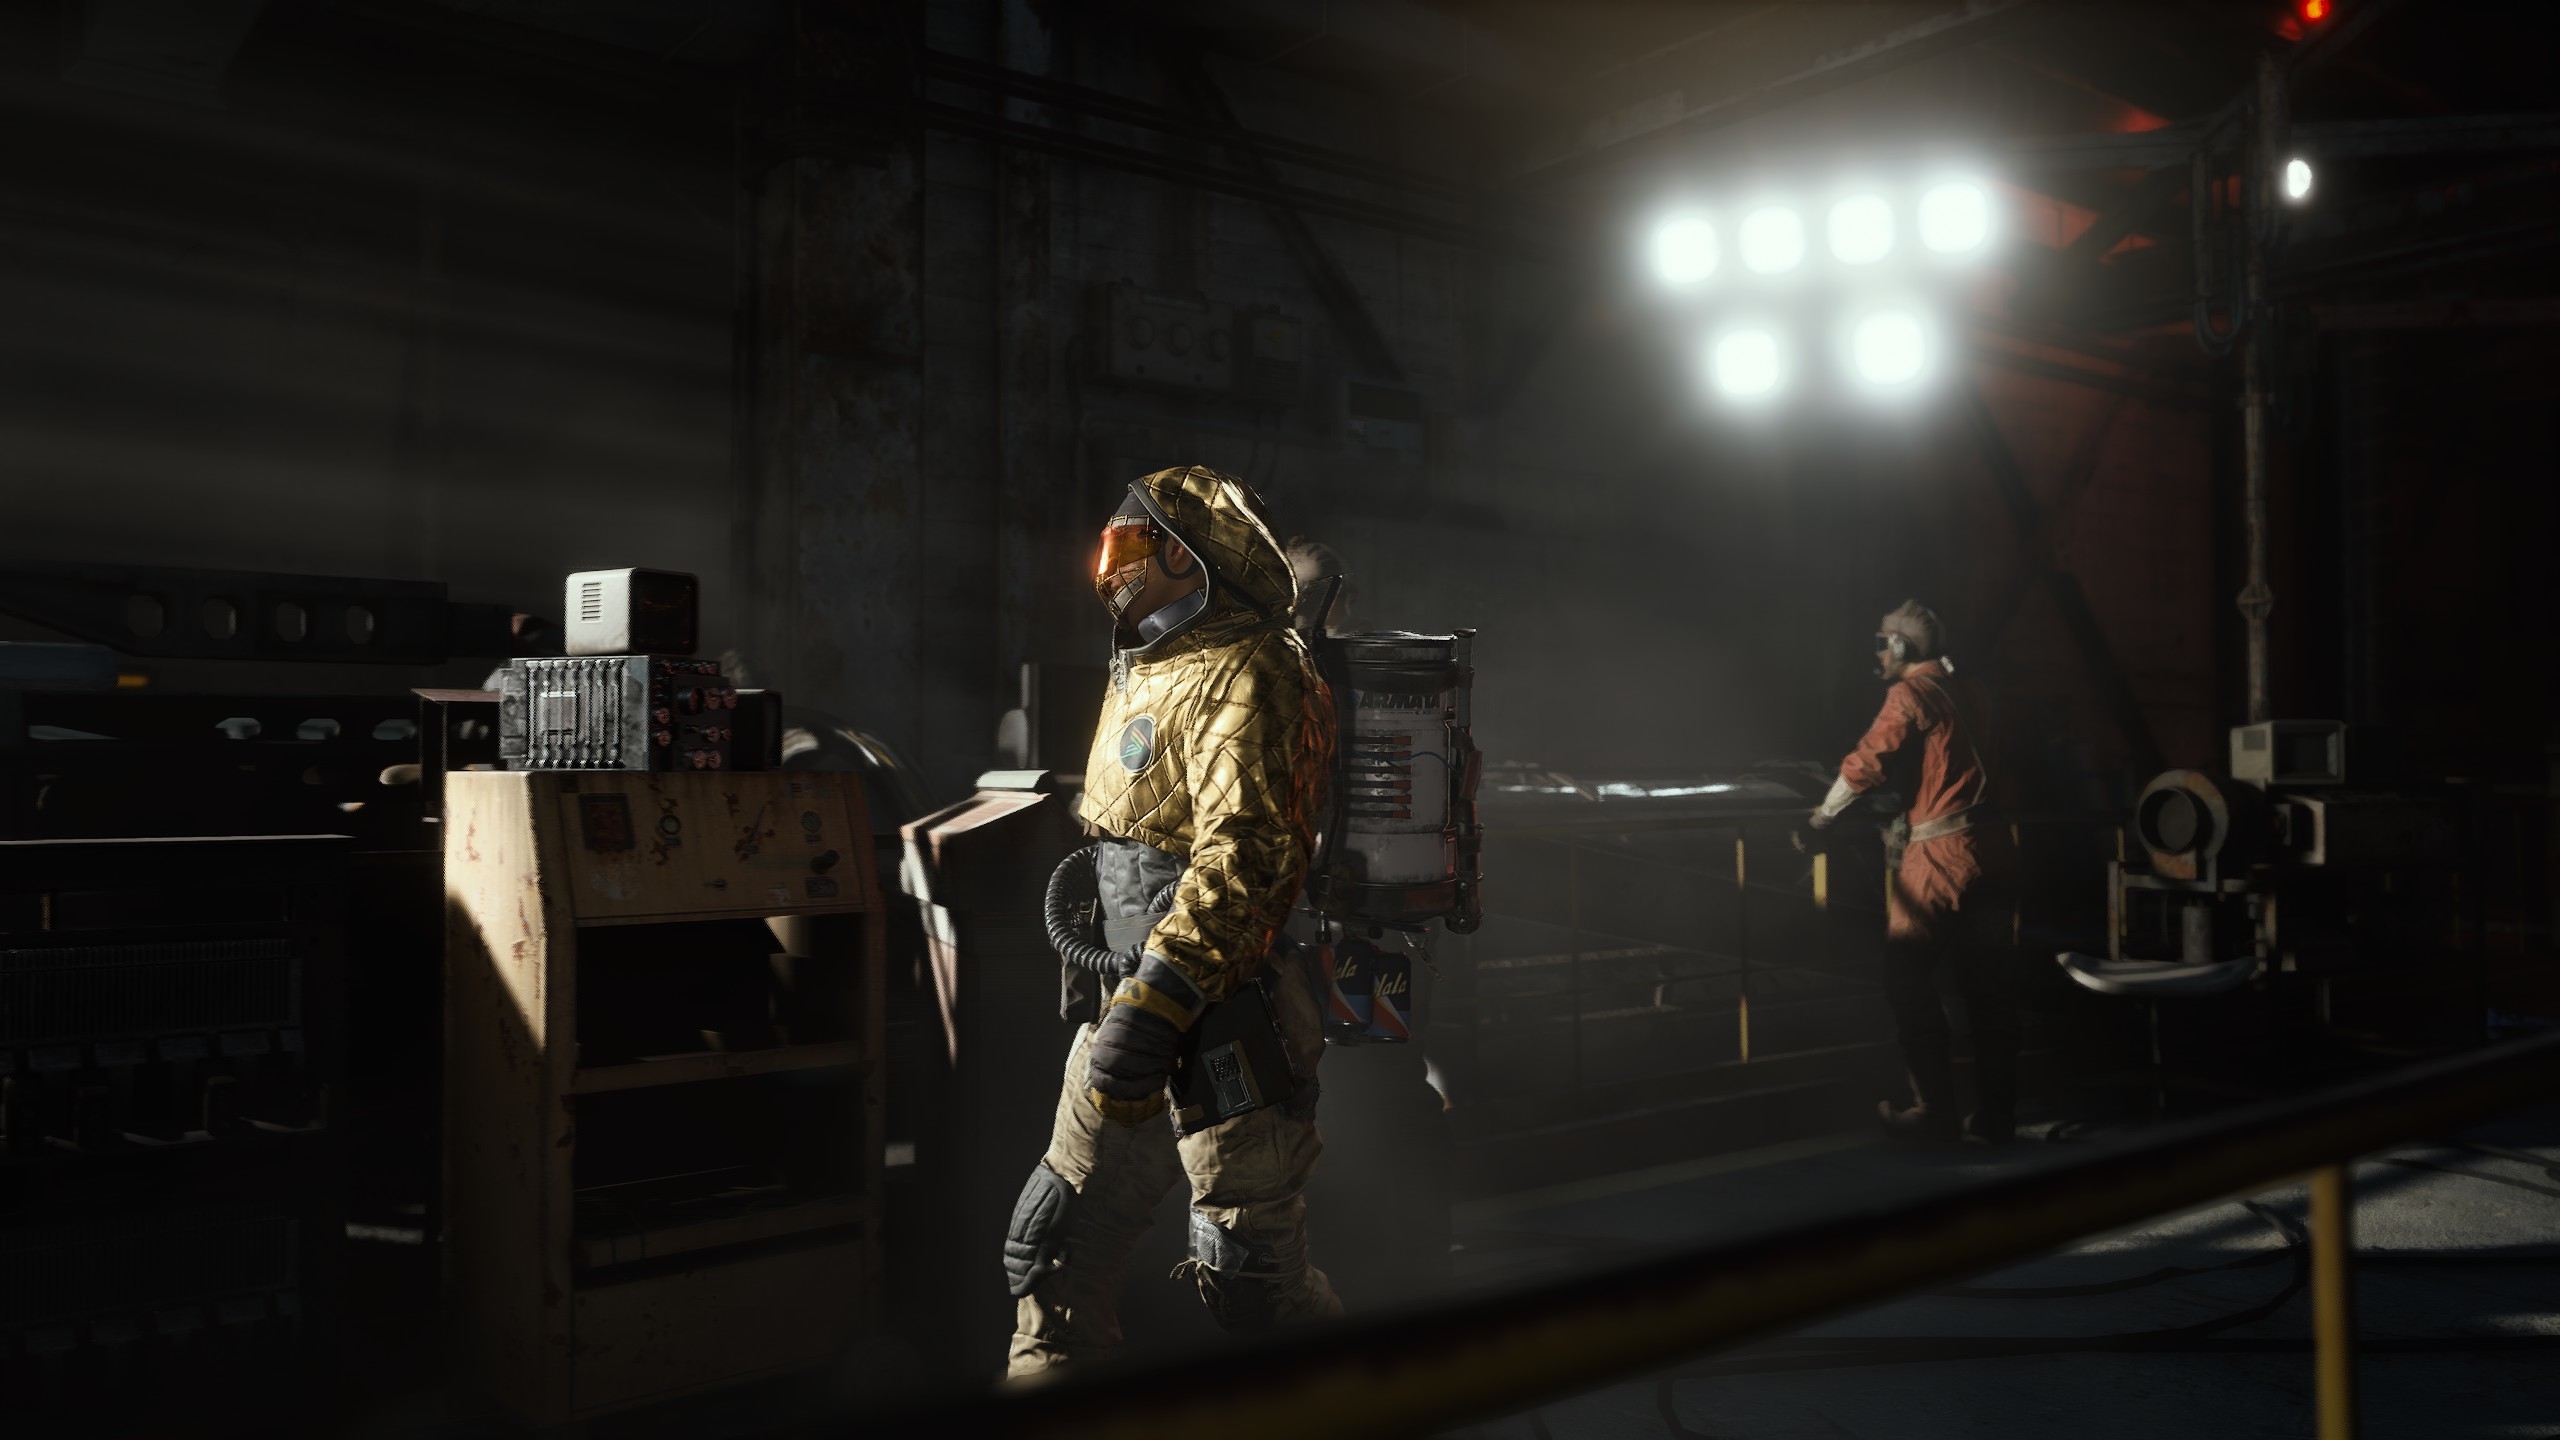
An In-Depth Look at the Raider Archetypes: Defining the Roles of Assault, Support, and Recon
A squad operating without defined roles is merely an armed mob, a collection of individuals with…
-
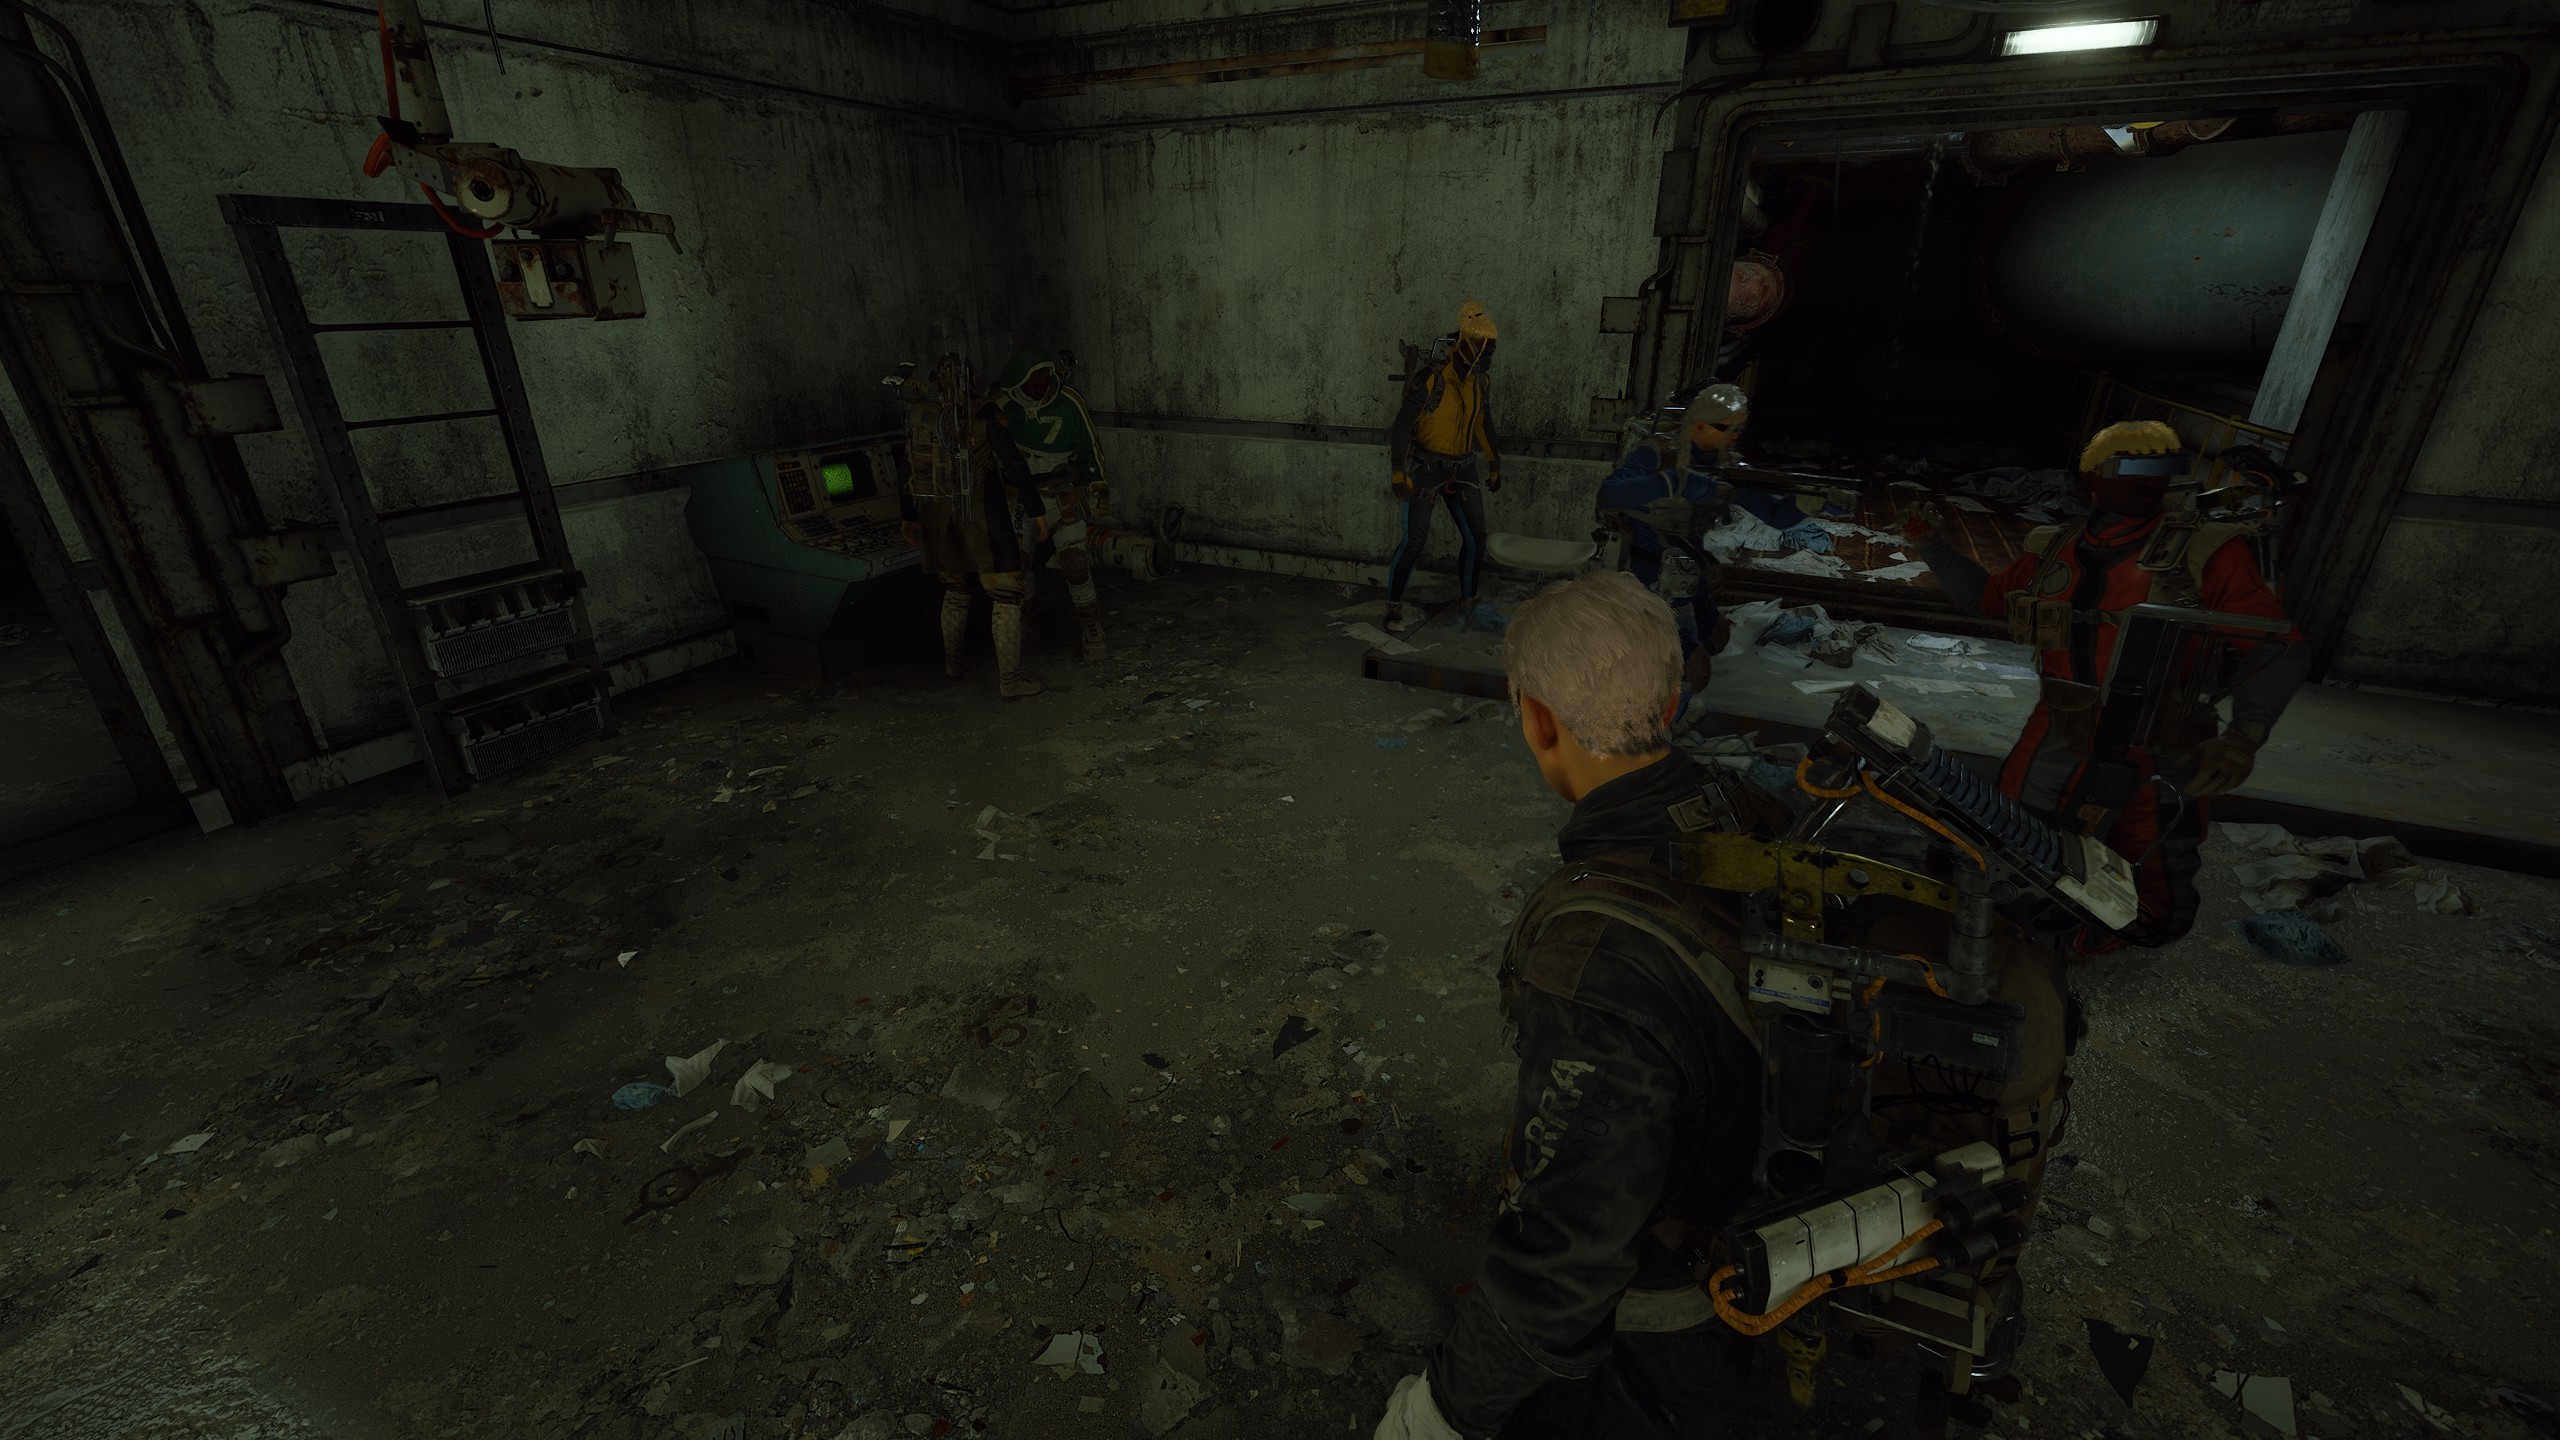
A Speculative Look at the Origins of ARC: Unraveling the Mystery Behind the Mechanical Menace
We, the Raiders of X-Isle, define our existence by our opposition to ARC. We study their…
-
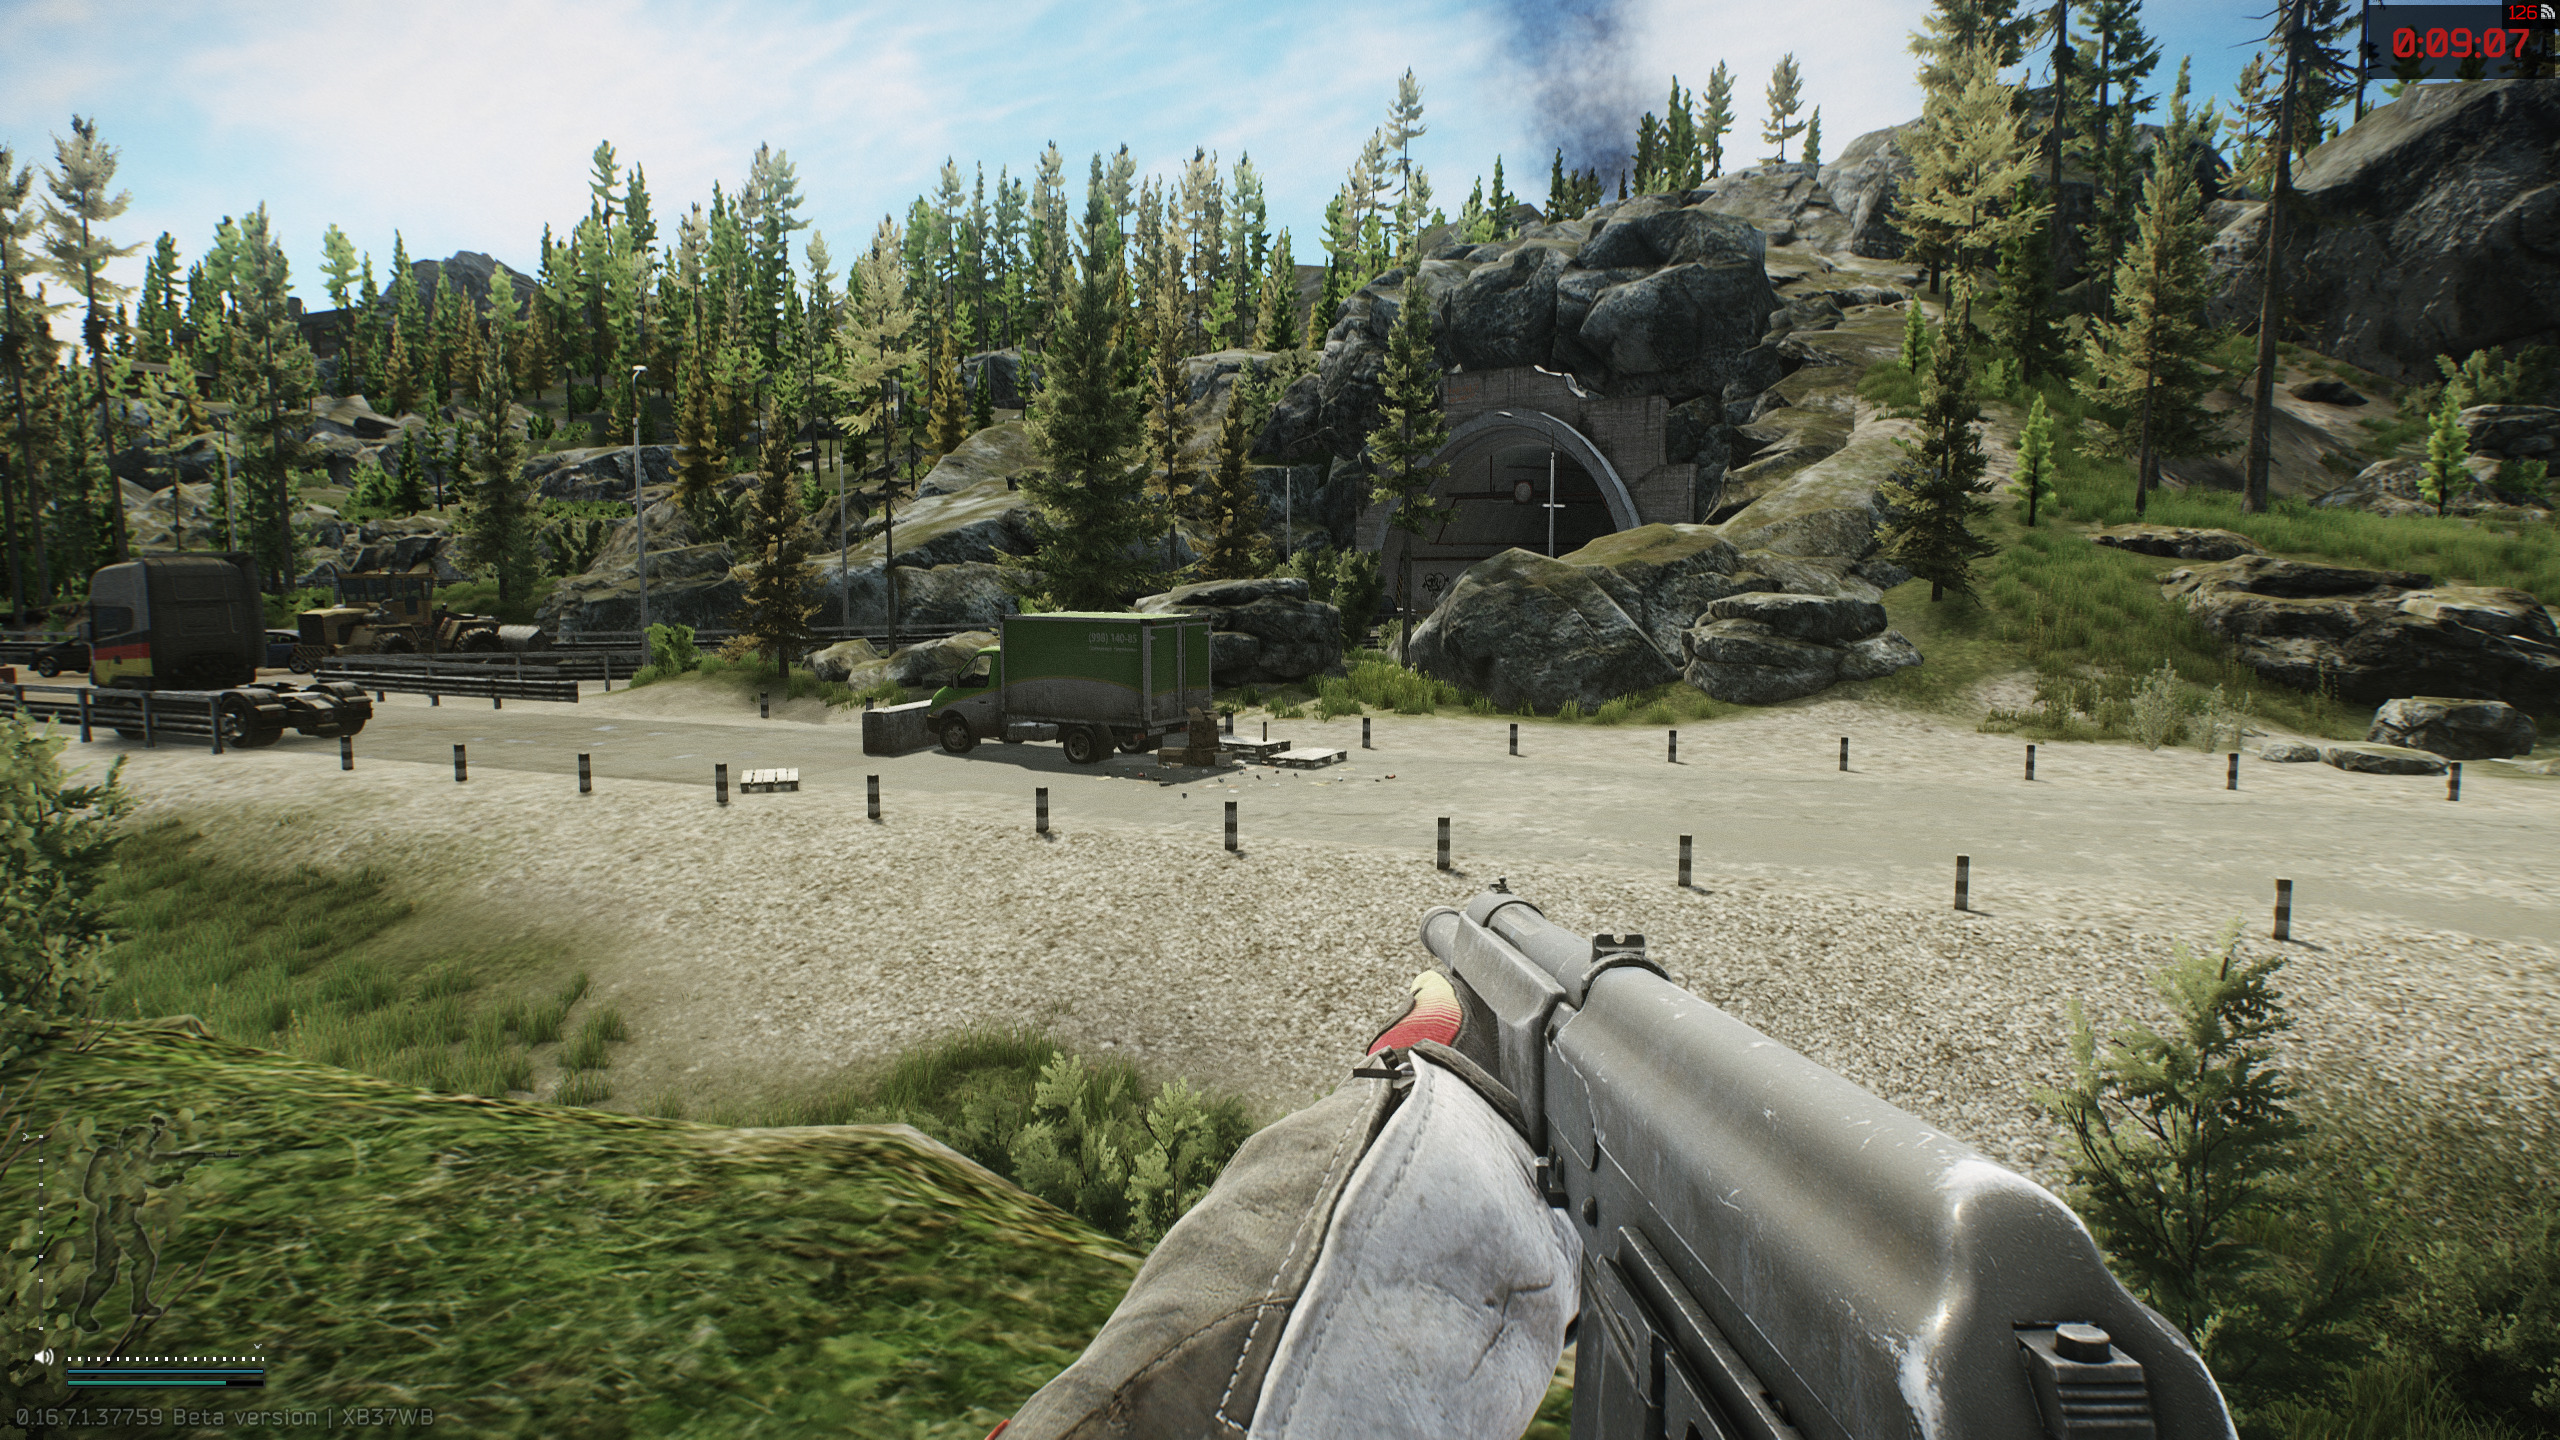
Psychological Tricks That Make Enemies Second-Guess Every Move
Introduction: Winning Fights Before They Start In Escape from Tarkov, battles are often decided before the…
-

Why the Drifter Is One of Destiny 2’s Most Compelling and Complex Characters
The Drifter is one of Destiny 2’s most enigmatic and complex characters. A rogue Guardian with…
-
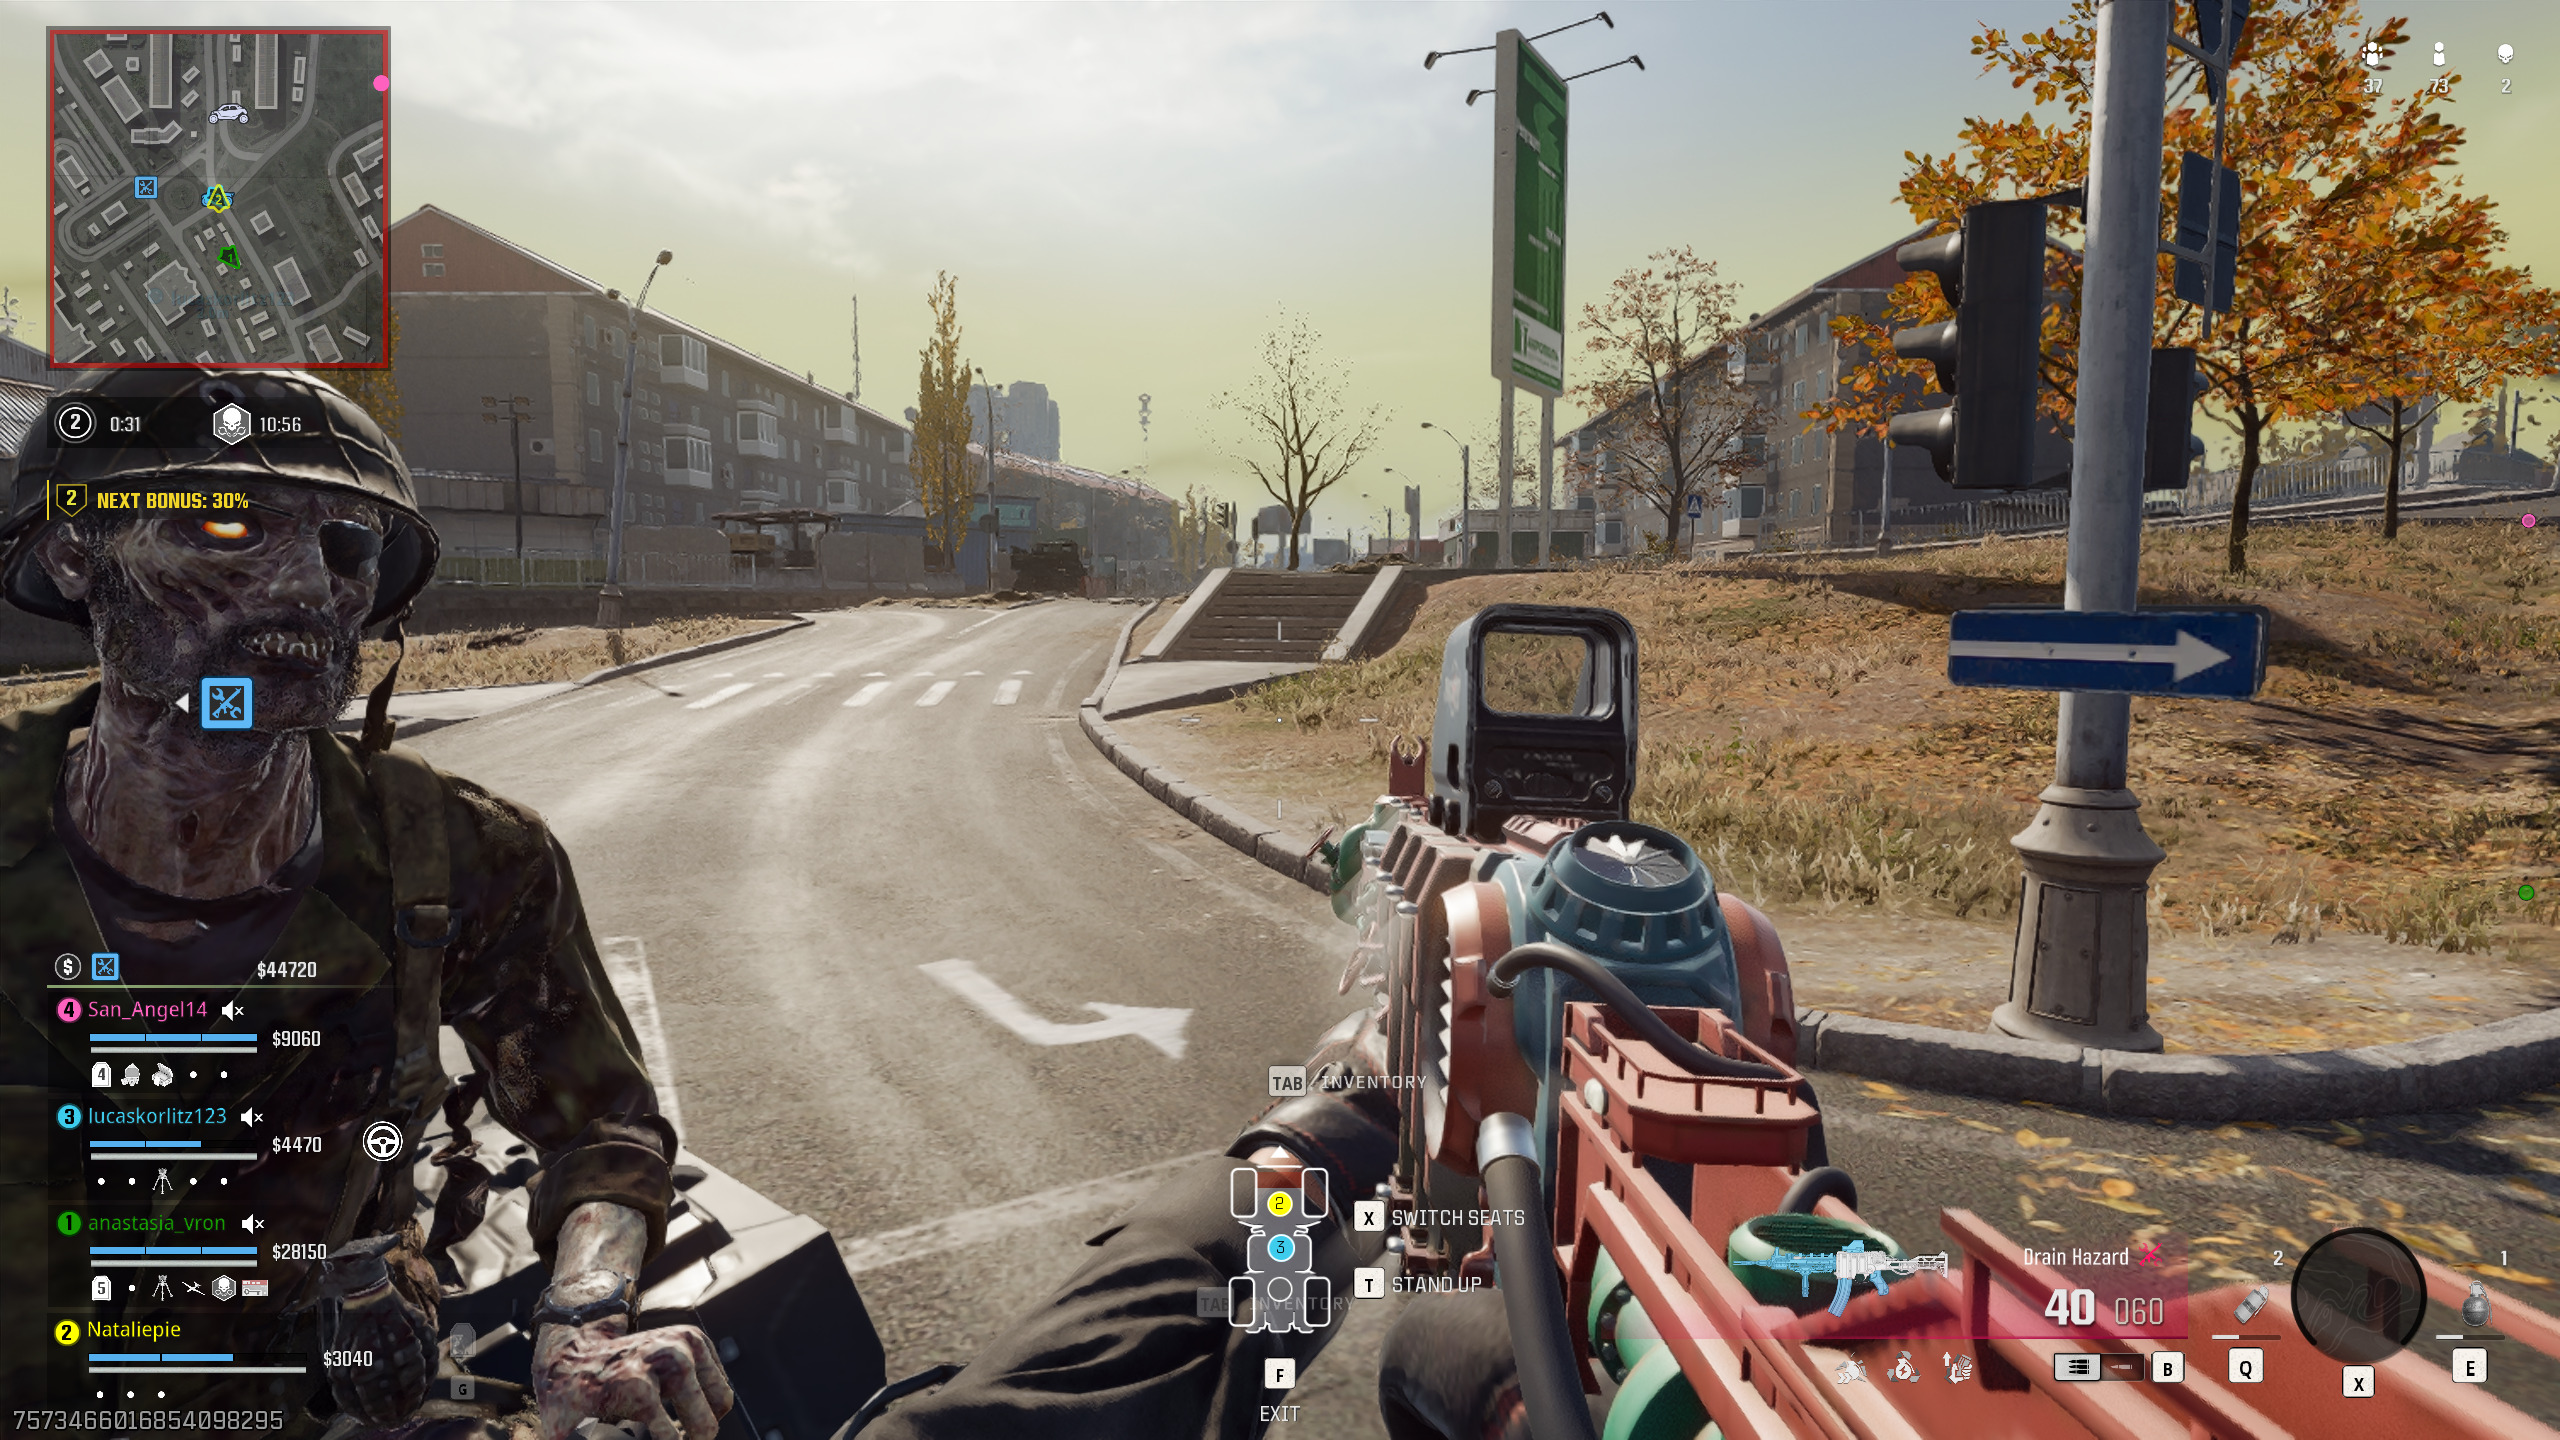
The Real Advantages of Call of Duty Boosting for Weapon Unlocks
Why Weapon Unlocks Matter So Much in Multiplayer Weapon unlocks play a major role in how…
-
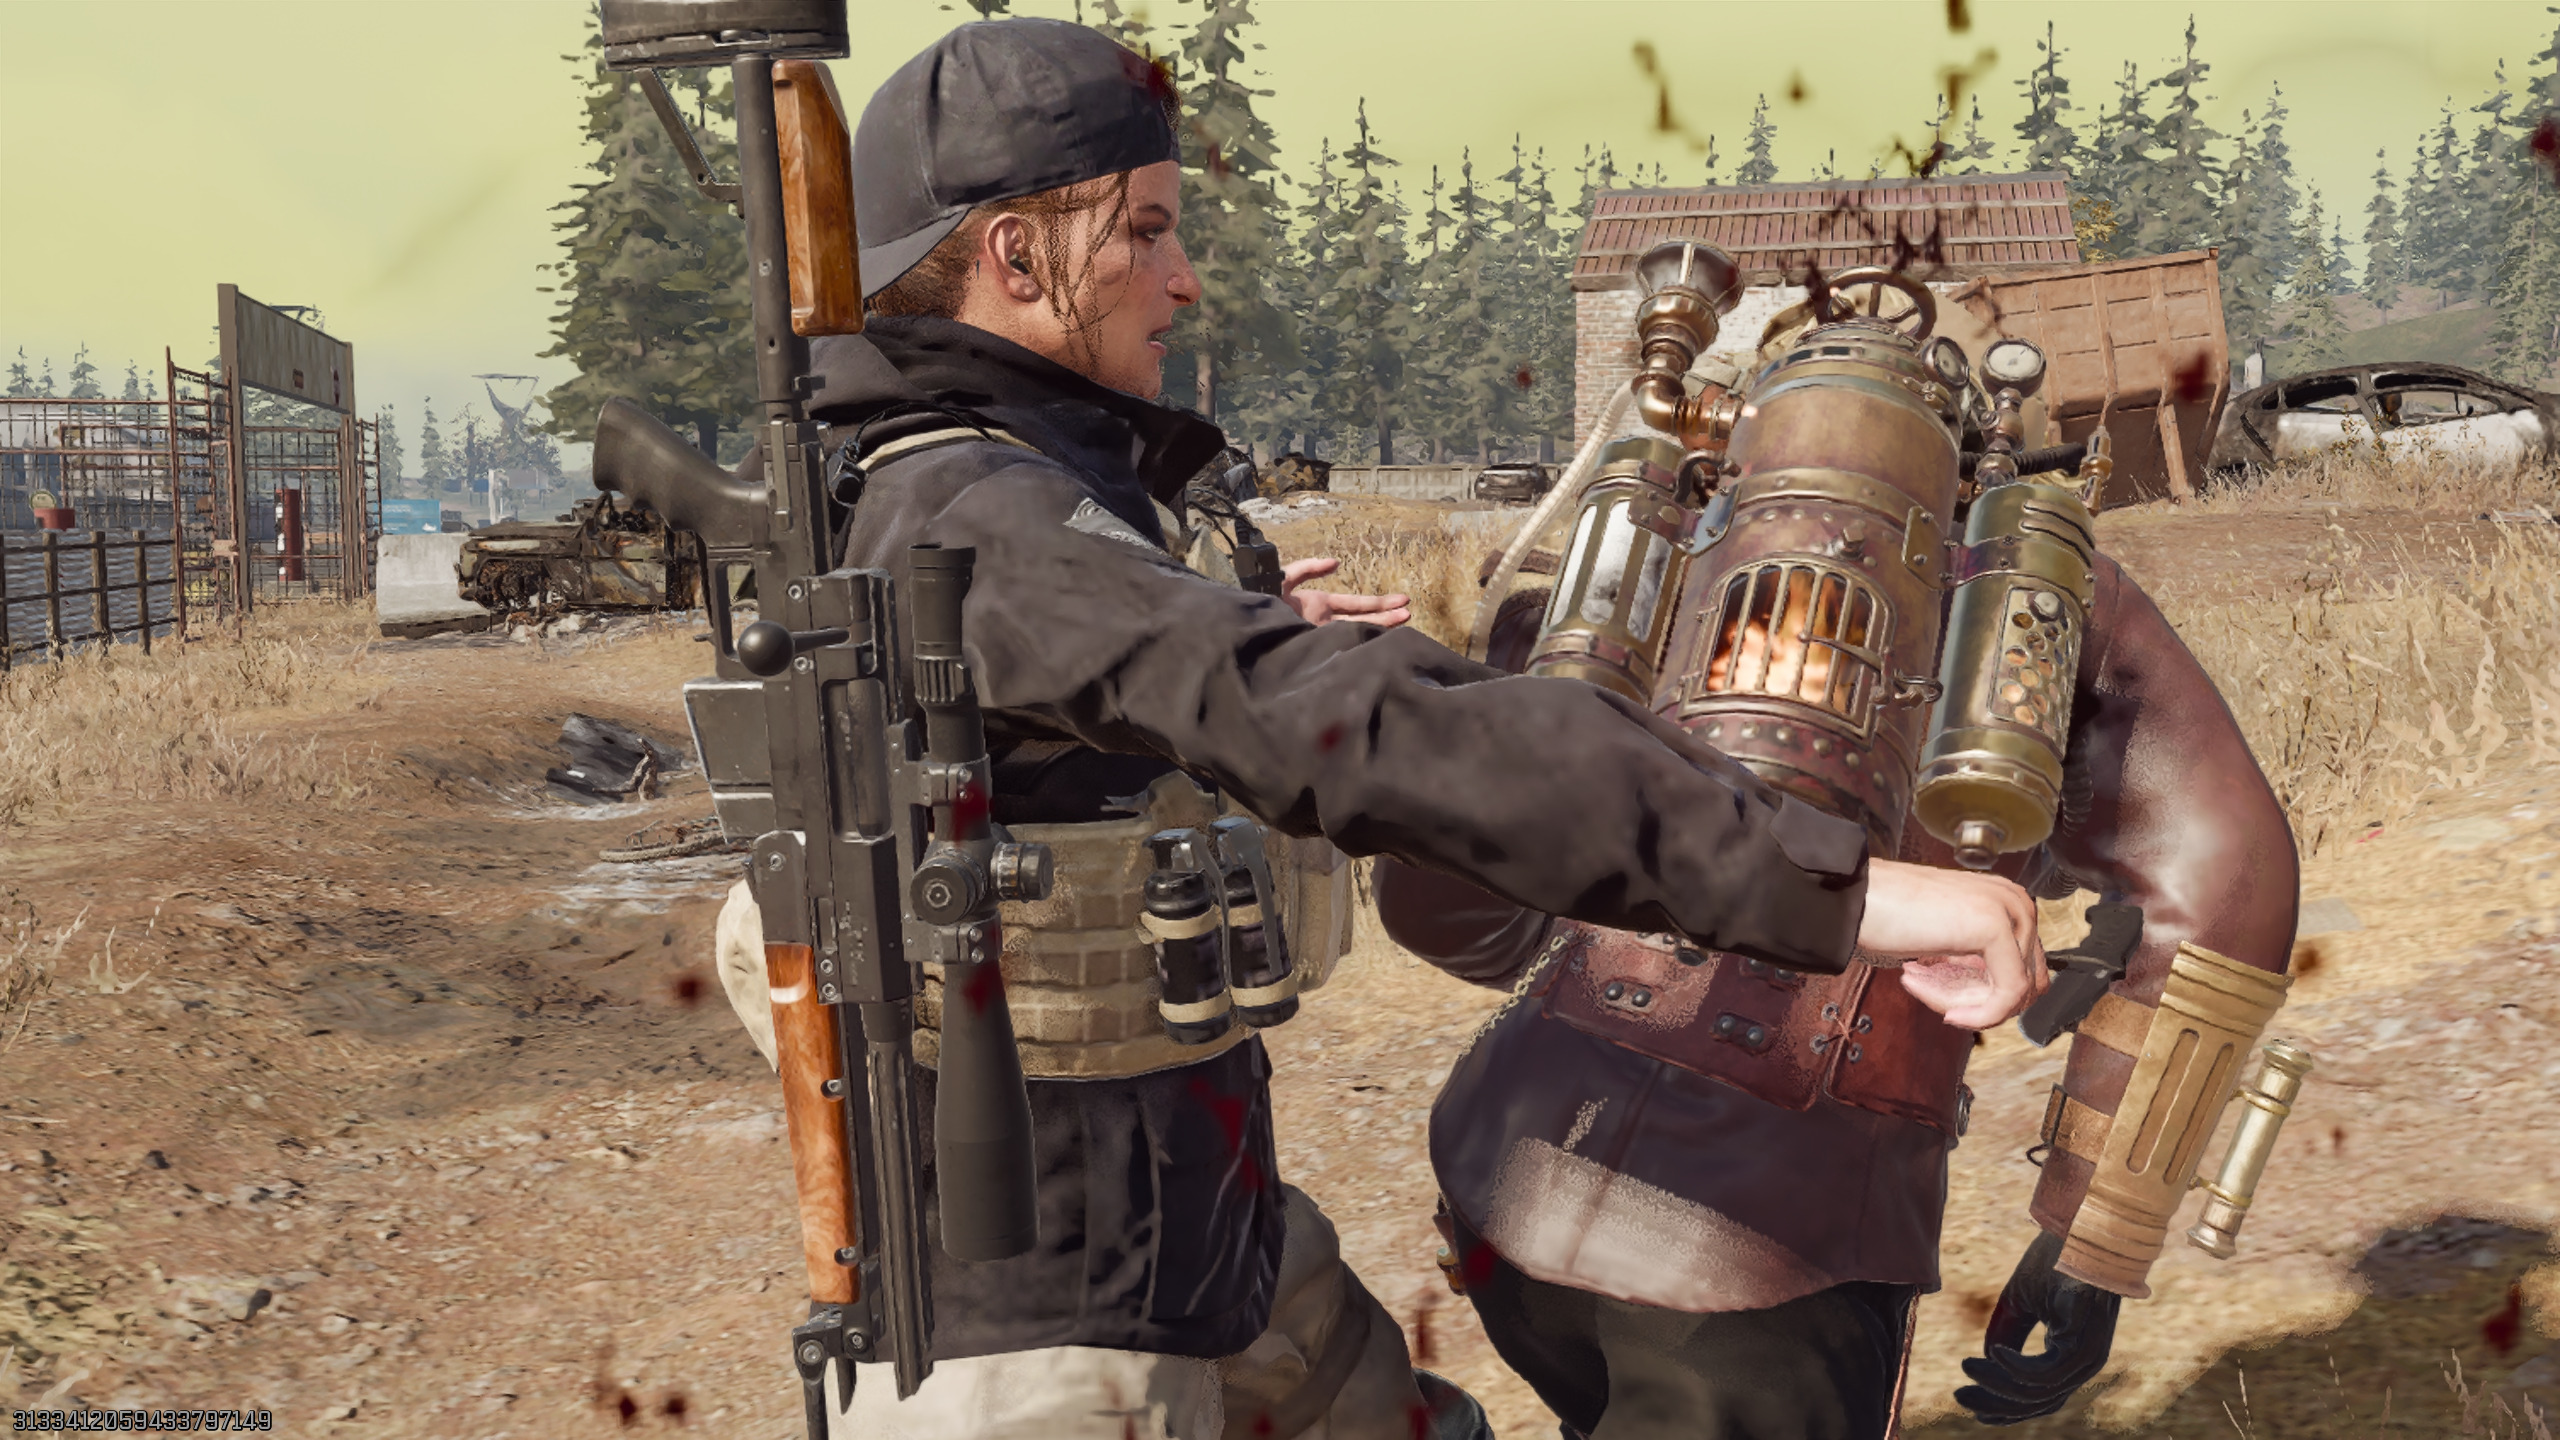
Warzone Custom Loadouts Explained: How to Build Smarter, Not Stronger
Custom loadouts are the foundation of success in Warzone. While raw weapon power matters, the smartest…
Latest Posts
- Is Your Aging Gaming PC Ready for Arc Raiders? Detailed Minimum and Recommended System Requirements Explained

- The Smart Way to Play: Why You Should Buy a Marathon Boosting Service

- Weather Warfare Using Storms and Fog as Cover
- Maximize Your Endgame Potential With Professional Marathon Boost

- Utility Value in Arc Raiders: Why Smart Tools Beat Raw Aim