What Boosting Means in Warzone
Warzone eats hours fast: long drops, contract runs, and sweaty endgames can stretch a single win attempt past twenty minutes. Call of Duty Boosting in this context means cutting that time waste and focusing every match on a clear stat jump. For some players, that stat is KD. For others, it is a clean win streak, a higher average kill count, or a faster contract completion rate to feed XP and cash. Boosting does not have to mean shady tricks; it can be smart planning—picking the right playlist, queue window, squad setup, and contract route so each match feeds the metric you care about.
Think of it as building a repeatable session script: warm-up, queue during a soft window, hit a tested contract loop, buy loadouts early, chain UAVs, and exit with a win or a strong KD line. By writing down goals before you queue and logging results after, you can see which choices move numbers and which choices stall progress. Over a few sessions you build a playbook that gets you to targets faster than random pub hopping. That is the core idea behind boosting in Warzone: plan, execute, measure, trim the fluff.
SBMM Basics and How Lobbies Form
Skill-based matchmaking (SBMM) in Warzone looks at recent performance, party averages, and sometimes region or platform pools to decide where to slot your squad. That is why one night feels like target practice and the next feels like a scrim. The system wants fair fights, so if your last games were full of high kills and low deaths, it will try to seat you with tougher squads. Party size changes the math: a solo queue has a different pool than trios, and a mixed-skill quad may land softer than a stacked sweat squad.
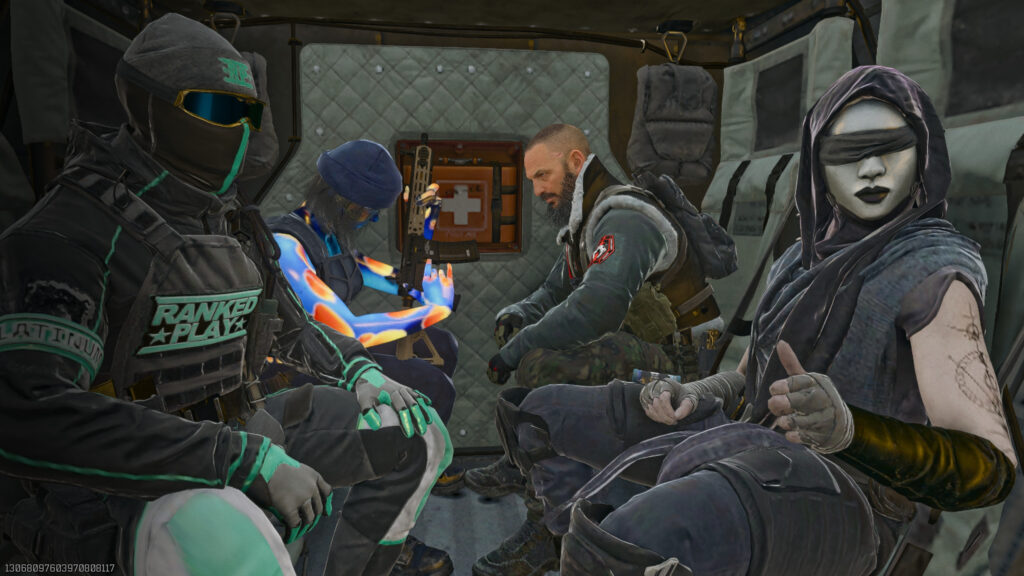
Time of day also matters because player counts dip, and the game has to fill lobbies fast, which can weaken the average skill line. Limited-time modes (LTMs) and niche playlists often have thinner populations, which can produce odd lobbies where skill spread is wide. Knowing this helps you plan: queue tests in different windows, note how KD and win rate react, and lock in the blocks that feel soft. Instead of guessing, treat SBMM like weather—track patterns, then step into the conditions that suit your goal.
Bot Lobbies Explained and How Players Chase Easier Matches
A “bot lobby” in player slang is a match where the enemy squads act slow, miss shots, and rotate poorly, letting you stack kills and survive late circles with ease. No matchmaking switch guarantees this, but you can tip the odds. Many players mix skill levels in a squad—pairing a high KD friend with a casual player—to drag the average down. Others queue late at night or early morning local time to catch thinner player pools. Some hop into LTMs or low-pop regions that force the game to fill with whoever is available.
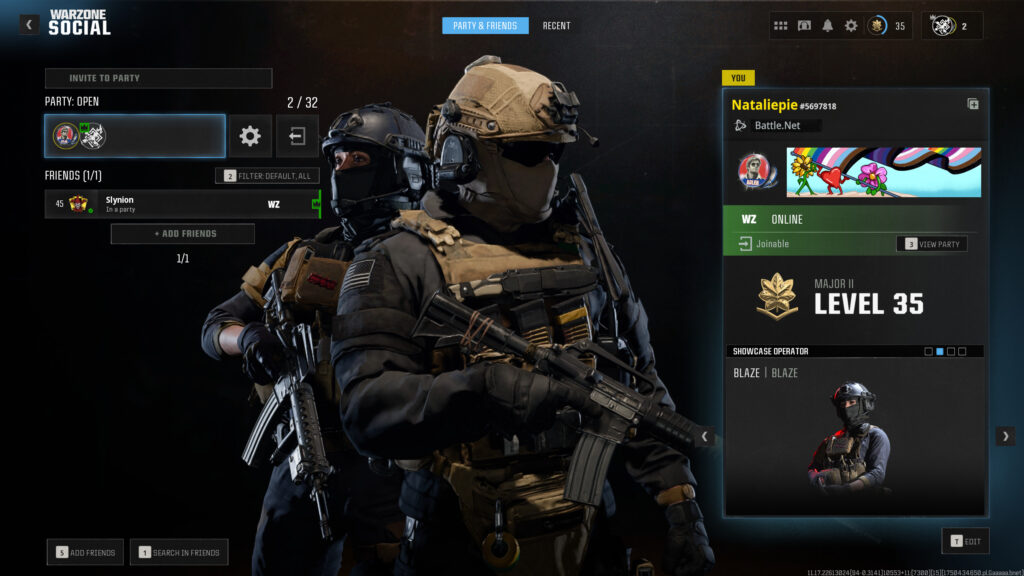
Signs you hit a soft lobby show up fast: early game fights end in clean wipes, enemies whiff plates, and mid-circle rotations feel empty. Once you spot that, shift gears and farm: grab bounties for free pings, chain UAVs, push third-party fights, and protect your streak. Keep notes on what created that lobby—time, mode, squad mix—so you can repeat it. The key is control. Do not throw games to drop stats; that wastes time. Instead, use queue timing, smart squad comps, and targeted modes to find windows where your plan runs smooth, your deaths drop, and your win line climbs.
KD Boost Strategies Without Throwing Games
Raising KD in Warzone is mostly about cutting deaths without killing your kill count. That means smarter fights, faster resets, and gear that saves you when things go wrong. Start by scouting fights before you commit. Use UAVs, bounties, or portable radars to see numbers and angles. Third-party squads already in a gunfight; they burn plates and ammo, making your wipe cleaner. If a fight looks like a 50/50 coin flip—same height, same cover—skip it and rotate for a better angle. Your loadout should support survival: self-revive, a durable gas mask, smoke grenades, and stims keep you alive after a knock or a bad zone pull. Pick a primary you can land shots with under stress, not just the flavor-of-the-week build. Control recoil and ADS speed beats raw damage you cannot handle. Positioning matters every second. Stay near cover, watch flanks, and rotate early so zone pressure forces enemies into your sightlines. Track your own bad habits: peeking the same window twice, re-challenging a sniper, or chasing a thirst in the open. Trim those and KD rises fast. Tokens help, but only if you focus—activate them right before a planned farm session, not while you’re half-afk in menus. Most of all, keep momentum. If a match starts cold, armor up, reset, and find a safe contract to rebuild money and UAVs instead of forcing hero plays.
Quick KD Check List
- Pick fights you can third-party or isolate.
- Carry self-revive, smokes, and a reliable close-range backup.
- Rotate early to claim high ground or safe cover.
- Skip ego peeks; change angles after every knock.
- Track kills and deaths per game; adjust if deaths rise.
Building and Keeping Win Streaks
Win streaks require structure. You need a clear plan before the drop, team roles that do not overlap, and strict rules for risky pushes. Start in the plane: mark a contract route that feeds early cash (Safecracker → Buy Station → Loadout → UAV chain). Decide who buys what: one player handles UAV spam, another watches cash and redeploys, a third covers plates and ammo. This stops mid-fight confusion. After loadout, shift to zone control. Read the circle edges and rotate before the pack moves. Late rotations force panic runs through open ground, which kills streaks. Use vehicles for quick moves but ditch them near final circles to avoid loud pings.
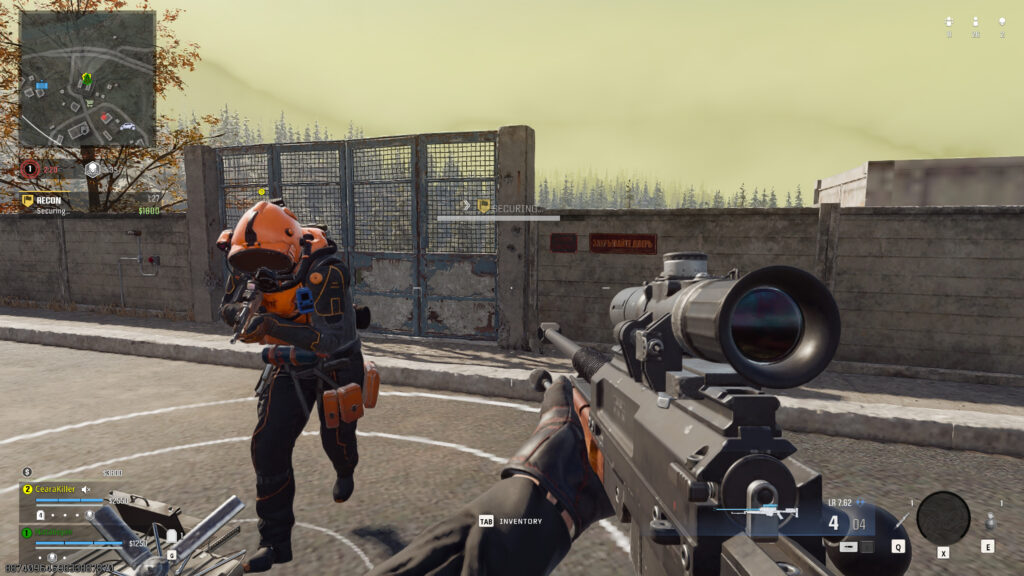
Communication must stay clean: short calls, enemy pings, plate counts, and buy plans. If a fight drags past 20 seconds without a down, break off and reposition. Protect streak health by backing out of lobbies that start with repeated wipes; a streak reset hurts more than a single loss of time. Between games, review the last circle: where did you hold, where did you die, what resource ran dry? Fix one thing before the next queue. Consistency wins more games than hero moments. Keep your calm after a clutch; do not chase highlight plays on game four of a streak. Treat each win as step one again.
Team Role Table for Win Streak Runs
| Role | Main Job | Buy Priority | Callouts to Track |
|---|---|---|---|
| Shot Caller | Route planning, rotation timing | UAVs, Precision/Airstrikes | Zone pulls, enemy team counts |
| Entry | First in fights, breaks armor | Self-revive, Plates | Armor hits, knock confirmations |
| Anchor | Holds power spots, watches flanks | Muni/Armor boxes | Flank pings, plate status |
| Support | Cash manager, revive/buyback specialist | Buybacks, Extra UAVs | Cash totals, buy station marks |
Contract and Objective Farming for Faster Gains
Contracts are the fuel for early loadouts, repeated UAVs, and safe recoveries. Farming them the right way speeds KD and win streak plans because you always have cash and intel. Safecracker gives quick money and plates, but spread boxes can drag you across open fields—pair it with a vehicle or pick ones clustered near cover. Bounties are great mid-game: they mark a team, letting you plan a clean third-party push. Secure Intel or Recon helps with circle knowledge, but they can root you in one spot too long; use them when the map is calm or you already control high ground.
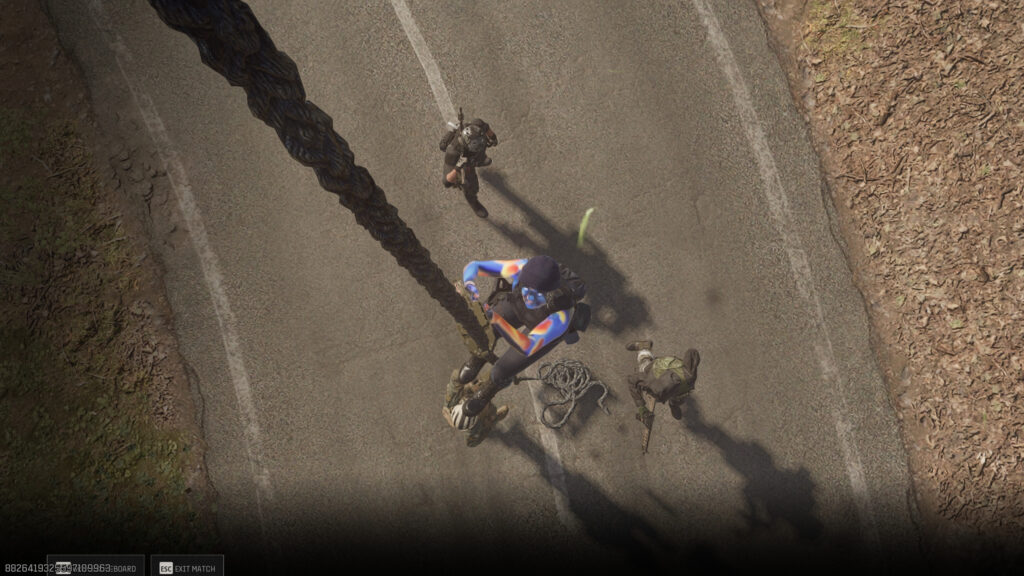
The key is chaining: finish a contract near the next contract, so you never wander aimlessly. In Plunder or LTMs with fast respawns, you can spam contracts just for XP and cash flow, but in BR focus on the ones that feed your main goal—money for loadouts and UAVs, or pings for safe pushes. Keep a mental travel budget: every 100 meters you run with no cover is time you could be plating or flanking. Use pinged buy stations as checkpoints on your route. If you wipe a team, loot fast and re-up a contract; do not sit still looting every attachment. Contracts are tempo. Keep it high.
Contract Value Snapshot
| Contract | Primary Benefit | Best Time to Grab | Notes for Boosting Goals |
|---|---|---|---|
| Safecracker | Fast cash + plates | Off-drop / early game | Watch spread; need vehicle or tight POIs |
| Bounty | Enemy ping + cash | Mid-game hunt | Great for KD and win chain momentum |
| Secure Intel | Circle info + XP | Quiet mid-game windows | Good if you plan long rotations |
| Recon | Next circle reveal | Early if uncontested | Can expose you on roof balloons |
| Most Wanted | Team revive + cash | Recovery after wipe | High risk; stack plates and vehicles |
| Scavenger (LTM) | Quick loot/XP in modes | Any time in respawn LTMs | Spam for XP farming sessions |
Contract Chain Tips
- Pick a starting POI with two contracts close together.
- Finish one near a buy, rearm, then grab the next.
- Use UAV spam to clear routes between contract spots.
- If a contract pulls you through open ground, rotate wide with cover.
- After a team wipe, loot fast and re-chain—do not camp the box.
Common Mistakes That Kill Boost Runs
Many players waste gains with avoidable errors. Burning double XP or weapon tokens while half-focused is a classic. Save them for tight, planned sessions. Chasing high-skill squads for clips kills KD and streaks—clip runs and boost runs should be separate. Ignoring rotations is another trap; the zone will delete a perfect KD start if you sit in a dead POI too long. Over-looting is dead time: grab what you need and move. Stacking goals in one match also slows gains. Trying to raise KD, finish camo headshots, and win a BR at the same time splits focus. Pick one core goal and a secondary that lines up. Staying in a doomed lobby “to practice” while on a streak plan wastes time—back out and reset. Last, tilt queues ruin stats. If you lose two games fast and feel angry, take five minutes, watch a clip, or shoot bots. Come back calm. Boosting is repetition with small tweaks; sloppy play kills that cycle.
Mistake Snapshot
- Wasting tokens during unfocused play
- Forcing highlight fights instead of smart fights
- Camping loot boxes instead of rotating
- Mixing unrelated goals in one session
- Staying in bad lobbies out of stubborn pride
- Queueing tilted after back-to-back wipes
FAQs
How many soft lobbies can I expect in a week?
It varies. Track queue windows and squad mixes. Many players see a few good blocks each week once they test times.
Can I raise KD and win rate in the same run?
Yes, if your plan supports both: safe fights, early loadouts, smart rotations. But if one dips, split sessions to focus.
Do contracts help KD or wins?
Indirectly. Cash buys UAVs and redeploys, which save deaths and secure fights. Pick contracts that fit your route.
Is solo or duo better for streaks?
Duos often hit a sweet spot: enough firepower and revives without chaotic comms. Test both and track win rate.
How long should a boost session be?
Long enough to use your tokens and run your tested route, but short enough to keep focus—90 to 150 minutes works for many players.
What if my stats drop during a patch week?
Patch chaos hits everyone. Rebuild your loadout, run a test block, and log new numbers. Do not panic over one bad night.
Final Tips
Keep it simple: one goal per session, clear route, tight tracking. Queue in windows that gave you soft games before. Run a warm-up to steady aim. Pick loadouts you trust and update them after each balance pass. Use contracts for tempo, not as a distraction. After each game, ask: did this match help my goal?
If not, adjust next queue. Protect your mental game—short breaks stop tilt spirals. Save tokens for full-focus runs. Over time, your sheet will show what works. Repeat that plan each season with small tweaks for map shifts or meta changes. Boosting is just controlled grind: plan, execute, measure, improve. Do that, and your KD, win streaks, and stat lines will climb without hours of random matches. Stay sharp, stay organized, and let the numbers rise.